We’re Back! Well, for a guest post on our own blog

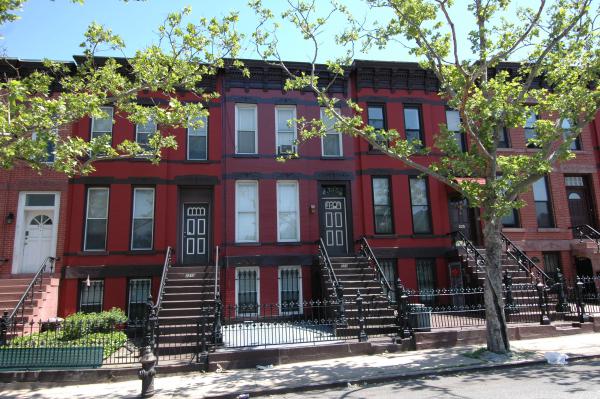
To refresh your memory, we finished our renovation story back in 2018, when we packed up and left New York City for the west coast. In Portland, we live in a brand new house. Ironic. Or not. But this did not last for long and soon we were back to household renovation projects, this time, in a vacation home rental up in Mt. Hood, Oregon.

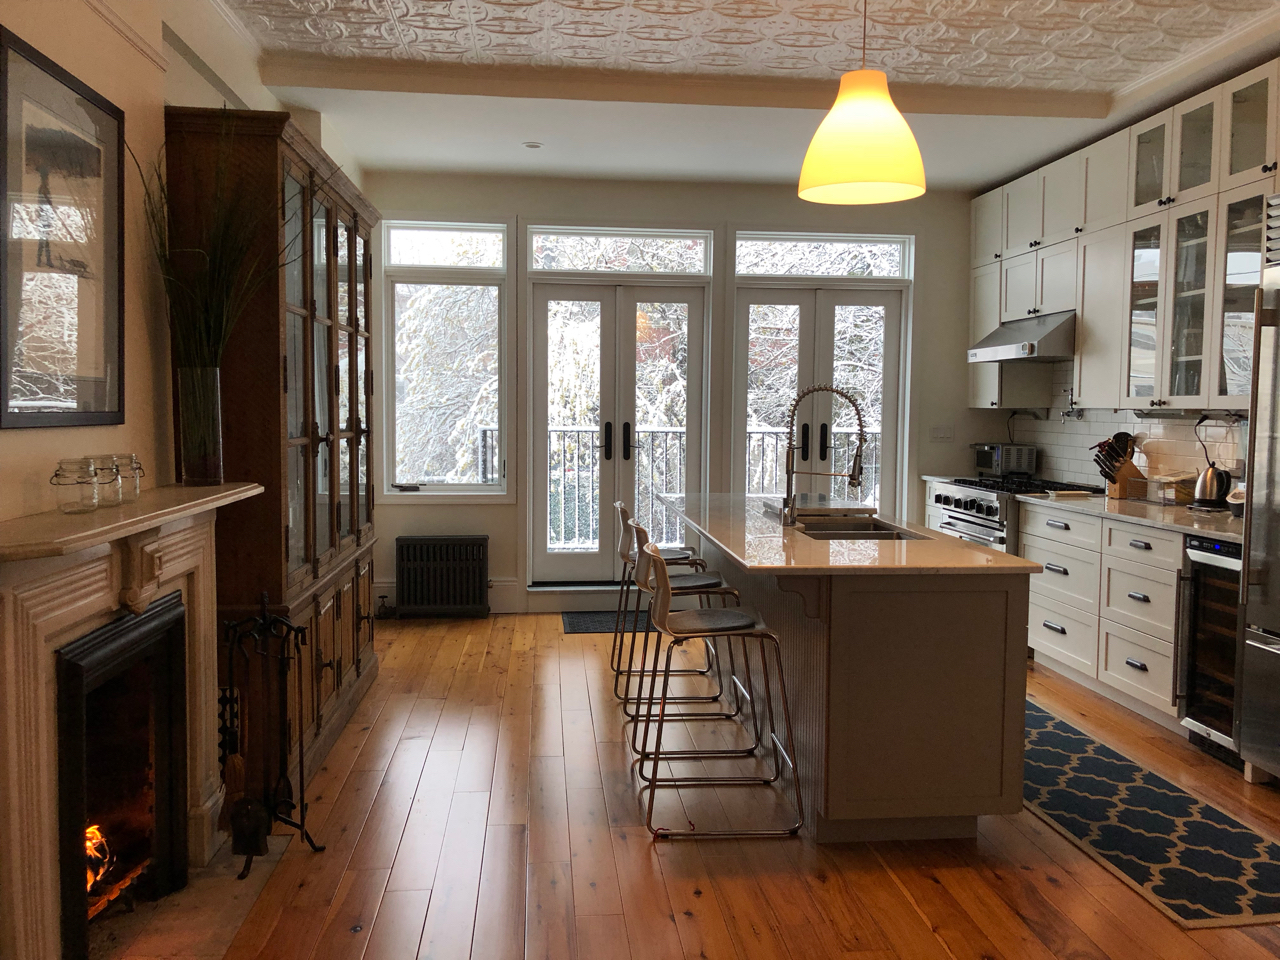
The house is relatively new at 8 years old and mostly needs decorating and minor cosmetic work but there are a few projects that we are proud of that we thought our renovation comrades would enjoy hearing about. Our future plans involve building a modern home from scratch by a lake somewhere, but that is for a future day and a blog with a new name.

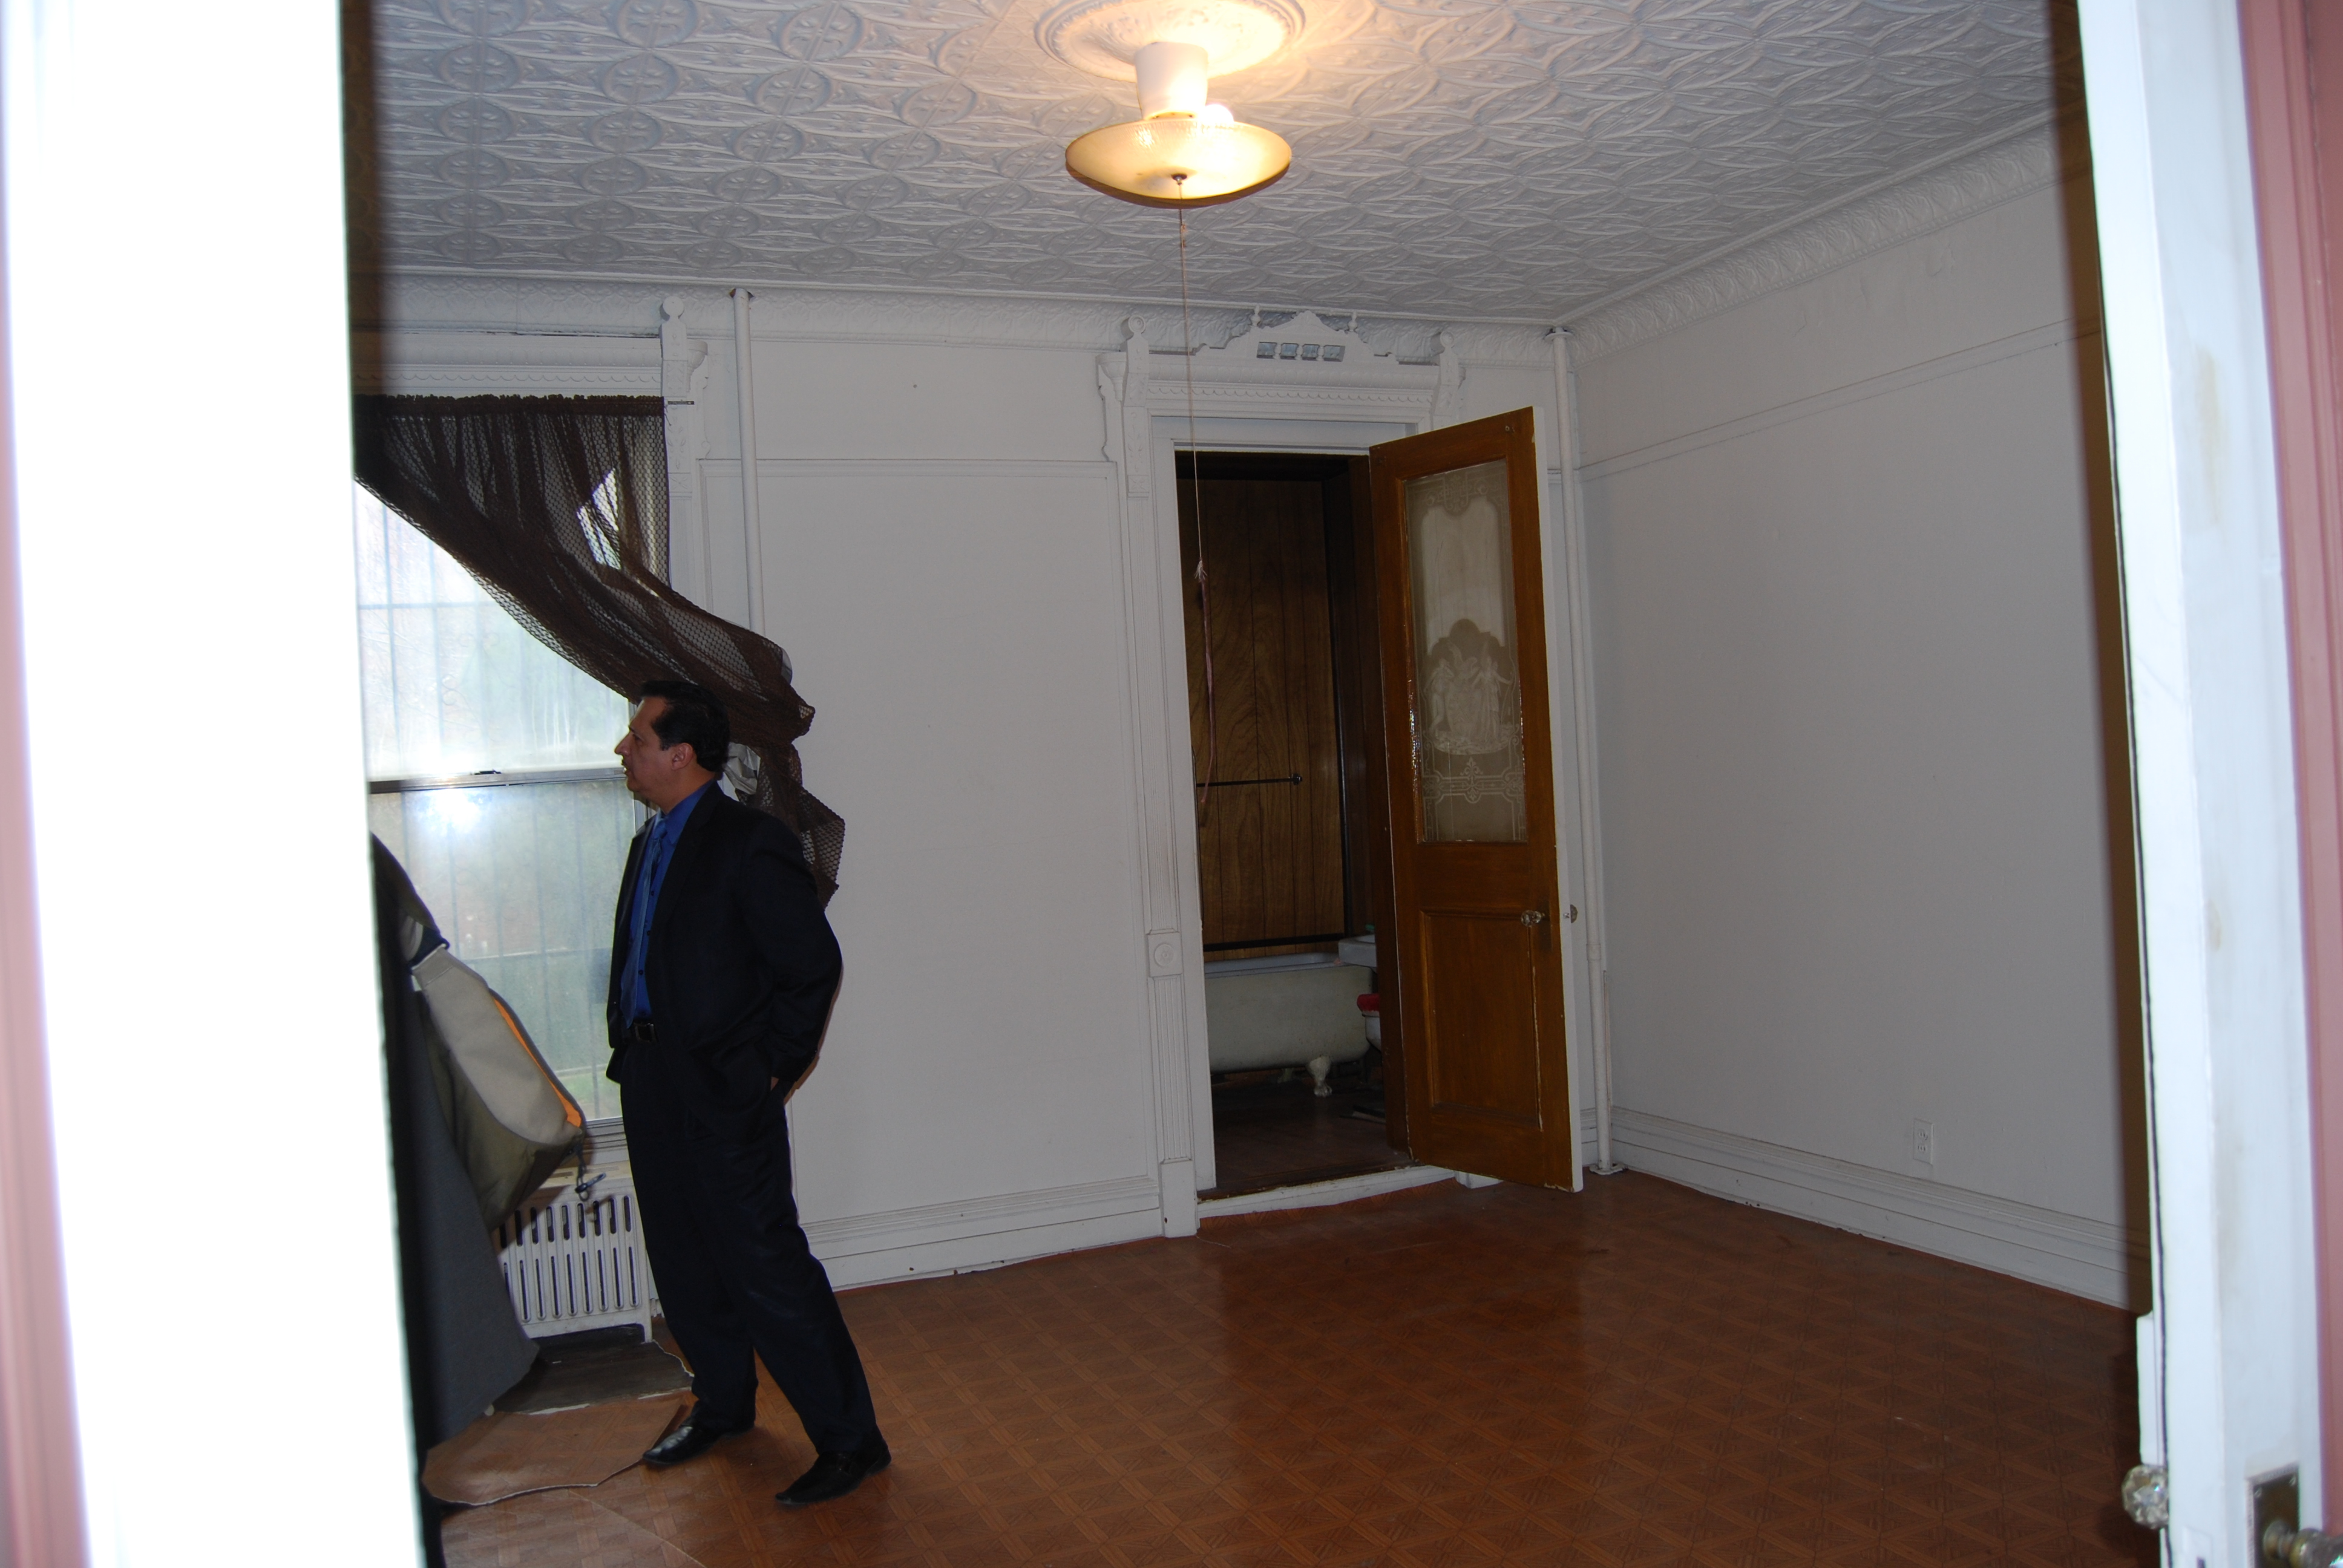
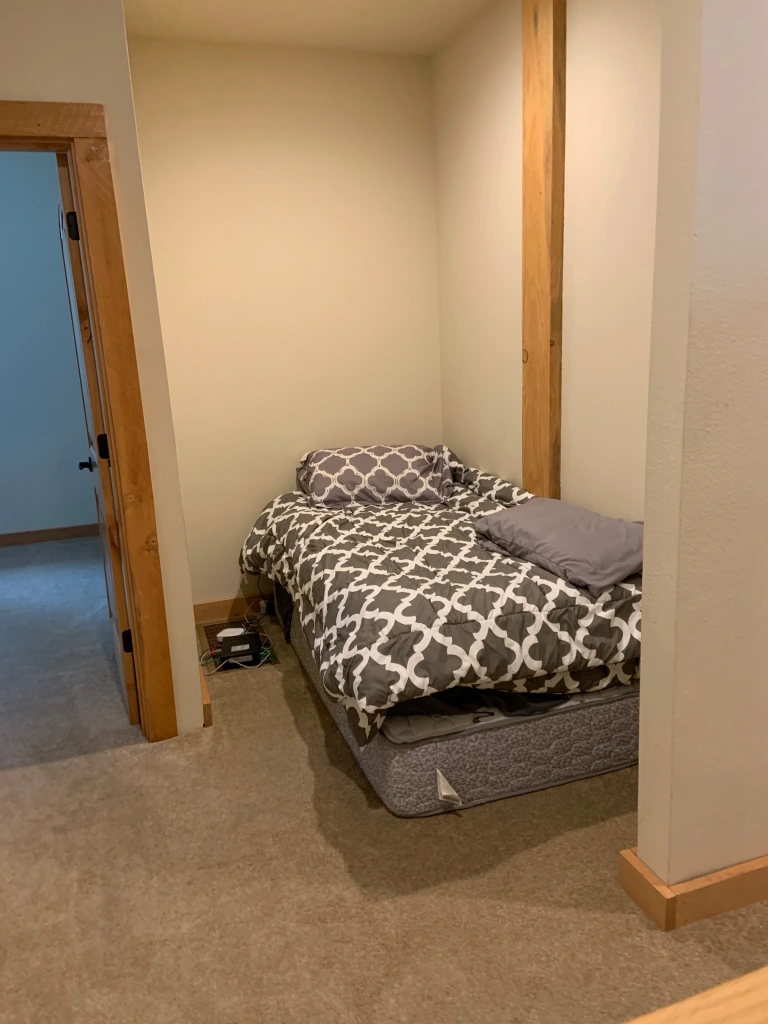
When we first viewed the cabin before the sale, we immediately saw this awkward spot in the hallway as an opportunity for something smarter than an extra mattress in the corner.

The cabin is located in a prime ski location so our first thought was a cozy loft bed of some sort. As Harry Potter book and film fans, our second thought was a wizard themed loft! The challenge was going to be how to make an open asymmetrical space look cozy and special.

Here was our inspiration

From the Warner Bros. film set for the boys dormitory at Hogwarts - taken and Warner Bros. Studio in London, England.

“And now, Harry, let us step out into the night and pursue that flighty temptress, adventure.” — Albus Dumbledore

The above photo is one we took from the real set of the HP films that we saw at the Warner Bros. Studio – The Making of Harry Potter in London, England. Did I mention we were fans?

From WB Harry Potter, The Goblet of Fire film

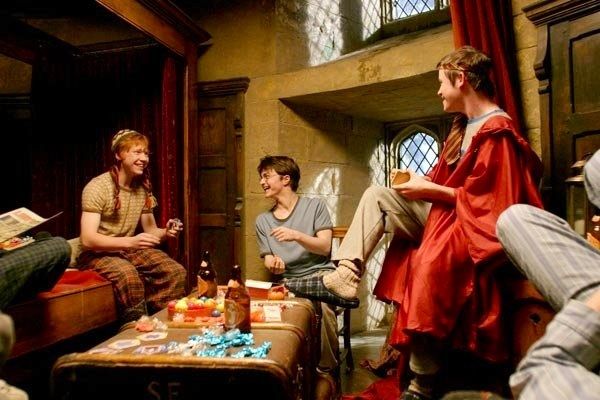
There are few scenes that really show the boys dormitory in detail. The photo above is from the film of the sixth book in the series, The Half Blood Prince.

“I mean, it’s sort of exciting, isn’t it, breaking the rules?” — Hermione Granger

How we did it

We decided to start with the structure and framing of the loft and worry about the decoration later. As you can see from the before photo, it is not a rectangular space. If you draw a straight line between the walls, the mattress corner sticks out a little. Our options were to create a rectangular loft that has a corner that sticks out but that did not seem acceptable. We thought about having a curved platform but that also seemed like it would look wonky. Then my brilliant partner suggested adding wooden pillars to attach the platform to and give us another few inches, and the bonus was that it would look more like the four poster beds in the HP films.

We get a lot of comments about why we did not make two loft beds. The answer is because this is where the only internet hub is and a lot of electrical plugs. We did not want children to be sleeping and playing in that area.

Here you really see it starting to come together. We stained the wood to match the four-poster bed featured in the film series and to make it stand out from the natural wood detail in the house.

Brownstone cyclone

We were very pleased with the outcome of the structure. Next, we had to turn it into a magical space for kids to enjoy. We looked at a lot of photos of castles, stills from the movies and even Harry Potter fan art. We decided that we’d go simple and paint an asymmetrical brick pattern on the walls (there are some crazy elaborate brick wall YouTube videos out there). We wanted to create the illusion of a starry sky so we painted the ceiling midnight blue and found this window shaped wall decor at Joann’s craft store. We painted the wall behind the hanging blue to appear as a night sky. We purchased some fairy lights from Amazon. These lights are plug-in because we did not want to have to replace batteries. We added an outlet near the ceiling so it is out of sight. These lights were perfect. They have a warm glow (but not too yellow) and a coppery gold wire, which looks nice even when they are off.

The finished product

It was enjoyable finding wizard-inspired accessories. The curtains (Target) are the color of Gryffindor House but we wanted to make sure that this was an inclusive space for all wizards so we created a string of pennants with all of the Hogwarts houses. We purchased the coat of arms decals for all of the houses on Etsy.

We trolled a lot of thrift stores and craft shops to find just the right details.

Hedwig’s cage is from Ikea and we created some custom news stories from the Daily Prophet about wizards in the Pacific Northwest. The most fun we had was creating wands for the kids because what is the point of a wizard’s nook without a magic wand for your adventures. Each is unique because as you know, the wand chooses the wizard.

We were very happy with the final outcome. Pottery Barn and other retailers have HP room accessories that we were tempted to buy but they were expensive and it seemed to be cheating somehow. Also, kids break stuff. All the backs of our battery powered lights seem to magically disappear!

We took an architectural liability and turned it into an asset with a swish and flick and had a whole lot of fun doing it. We hope many kids enjoy it, and some grown kids too.

“You’re just as sane as I am.” —Luna Lovegood

One Last Before and After

WE ARE AMAZON ASSOCIATES

– we get money when visitors purchase something from one of our links to Amazon. But we do not link to any products that we don’t recommend!

It’s been a whirlwind of a year, finishing the renovations on our brownstone after 6 years of work and then selling up and leaving NYC.  Now that we’ve had the chance to take a breath, we felt that we owed it to our readers to post some final before and after photos.  Because who doesn’t like some good before and after renovation photos?!

The house was built in 1899 and had only three owners before us.

1940's

The Front Exterior

When we first saw the house back in 2012, we knew it had potential.  The bones were good and the karma felt right.  It was calling out to have a family grow up there again.

Front of Building

Although we took down some walls and put others up, we did overall lighten the load on the upper floors, stripped off years of old paint, and tore up layers of linoleum.  At the time, we could almost hear the house sighing in relief as each old layer was peeled off.

Although it doesn’t look like we did much to the front exterior, it sure was a lot of work, time and money.

  • We replaced all the windows with the Marvin brand and were pretty happy with the noise reduction.
  • We had the stairs re-done with the finish that is meant to look like brownstone.
  • We also had a contractor repave the front area but we did the planting area ourselves.

Other DIY projects included replacing the front and downstairs doors as well as sanding and painting the original fence and railings.  In fact, we feel tired just thinking about all the work we did out there.

IMG_0721

During out first walkthrough we thought we’d put the kitchen and living room on the garden level where the original kitchen was.  After suggestions from a high-end architect (that we did not end up using – we hired Matthew Cordone), we put those on the parlor level, which is a no brainer really because that is where all the light and high ceilings are.  The garden floor was perfect for our bedrooms.

The Garden Floor

photo

Our daughter’s room was in the front of the house.  The photo above is the view facing the back of the house.  We gained a few inches after removing the drop ceiling.  The room looks dark and small here.  We believe this was originally the dining room.  On the left is a hallway that leads to a pantry and the kitchen and on the right is another pantry with a window to pass dishes through from the kitchen.

demolition 10-18-12 005 (1)

The room facing the front of the building during demolition.  Our contractor wasn’t the tidiest.

After

10

Although on the garden level, this room has lots of direct sunlight.  We kept all the original molding around the windows and the chair rail but the ceiling could not be saved without prohibitive costs.  The new molding looks almost exactly like the original.

Our only DIY in this room was stripping the lead paint off of the fireplace mantle and the double doors leading into the bedroom.  We could not get the gold paint off of the centerpiece on the marble mantle.  Lesson: don’t paint marble gold, people!

We removed the second hallway (on the first before photo above) and the pantries (on the right of the built-in) to add a closet for the bedroom and a second bathroom.

9

It never looked this white in person!  And, we don’t recommend white tiles on the floor.

Below, we took out the original kitchen for the house and extended the house 10 ft to make room for a media room and master bedroom suite.  It is hard to grasp with the before photos.  Below is from the perspective of the front bedroom looking to the back of the house before they took out the outer wall.

DSC_6641

demolition 10-18-12 008

Afterward, walls were put in the middle of the house for the media room, forever referred to as the “middle room.”  It is a small but mighty room that houses the washer dryer and the kitty litter too.  Our DIY was installing the cabinets and the floors.  We hired someone to wallpaper because we’d seen bad wallpaper DIYs before.  Loved this Urban Chic Big Apple wallpaper from York Wallcoverings.

8

The old kitchen leads out to the backyard below.  To the right, there is the added bathroom that was made out of doors.

Kitchen

And the after ….

6

The majority of the master bedroom is the new house extension so there is no original architectural detail in the room.  In the bathroom, below, the original brick fireplace remains behind the shower wall.  The room was not big enough for the dream separate bath and shower but coming from a one sink tiny apartment bathroom, this was luxury.  So much white!

7

The Second Floor

The rental apartment was mainly a DIY job except for the ceiling restoration (in the bedroom) and replacement (in the living room) in addition to some help with the floors.

The floors in the apartment were too damaged to restore and were so creaky that we needed to reinforce and put in some soundproofing.  Other than that, the bedroom, below left, was mainly a clean-up job.  We put in new windows in year five.

The bathroom was a full DIY gut.  Pink tiles were someone’s dream once upon a time.

12

The living room and kitchen area involved removing a lot of linoleum and wallpaper during a memorable humid NYC summer.  We also took out the half wall to open up the kitchen.

brownstone 5-11-12 113

A little exposed brick and some chalkboard paint helped give it a little more personality.

After

11

The Back of the House and BackYard

Before

Extension

Yowza! The back of the house was pretty sad-looking.  We are not sure what year they added the shed on the right or the bathroom bump-out on the left but it did not stand the test of time.  The bump-out turned out to be constructed with old doors.

Back yard

The good thing about the yard was its size.  The bad were the dead rat carcasses.

During construction

back of house

Once the building was done we removed the dead tree and installed wood borders and new grass.

P1000255.JPG

Next, we had our patio installed by the professionals because that would be hard to do ourselves and we needed proper drainage.  We replaced the metal fencing but since our flowers and vegetable garden needed light, we decided against a wooden fence all around the yard. We miss you, Karma!

IMG_0966

We added raised organic vegetable garden beds and replanted bushes in the back.  We would have repaved also but ran out of time.  The rose bush is from the original owners, which we managed to protect during construction.

5

4

We enjoyed a lot of summer days and nights in this space.

The Parlor Floor

The nicest part of the house and the biggest transformation is the parlor floor.  Below is the view towards the front of the house.  We removed this door and part of the wall and the weird decorative archway to open up the room and allow more light in.

parlor facing south

parlor facing south

After

1

It is amazing what new floors and paint can do for a room.  Flower photos by Leeta Harding.

2

To the right is the powder room with an original glass etched door pane and a high tank toilet.  I love this bathroom but it is really hard to photograph.

The final room in the house will always be my favorite.  We were able to save part of the tin ceiling, the original pocket doors, and moldings.  We restored the fireplace to working condition.

The kitchen was once the bedroom.

back parlor floor = etched door

Back facing north before the extension.

233 Prospect Park 089

The closet on the left was built out and is now the powder room.

We tried to save the wood floors here because they were better quality but they did not match the rest of the floors in the other rooms and we decided that they should all be the same.

During construction

before channel install

After

kitchen (2)

IMG_0926

It was a long road and there were many ups and downs.  We spent a lot of money, survived stressful situations, and put in a lot of sweat equity but it in the end we were happy with the outcome.  It felt good to restore this beautiful historic home.

The house will be missed but we know that it is enjoying the laughter of new children and will hopefully continue to stand for another 100+ years.

For Sale by Owner and Not by Owner

223 Prospect front

We never thought back in 2012 when we bought our house that it would take 6 years to complete our renovations.  In fact, we never really finished because in a 100-year-old brownstone there are always improvements to be made.

We decided to put the house up for sale, not because we wanted to leave the house but because we decided we’ve been in New York City long enough and it was time for a new adventure.

Of course, as DIYers, we wanted to sell our house ourselves as we did with our For Sale by Owner condo.  Over the last year, we’ve worked tirelessly to get those little details completed and the house in the best shape we could to lure prospective buyers.  We were lulled into complacency regarding the actual selling of the house until it was almost too late.  For our condo, it was so easy.  We took photos, created a Word Press website with all the photos and financials.  We found a service online that listed it on Zillow and Trulia and got it ready for the open houses.  We had about 2-3 open houses before we received an offer and within two months we had an accepted cash offer.  Easy peasy.

Not so this time.  Things have changed at Zillow and Trulia (owned by the same company).  They are not For Sale by Owner friendly.  We signed up with an online service that was supposed to get our listing on all the real estate websites.  Read the fine print, my friends.  It took weeks to get our listing on Trulia and Zillow because there was an incorrect listing on the site that had our street address but which featured another home down the street that wasn’t even for sale.  By the time we got this ironed out, it was late spring already and we were missing peak selling season.  Our goal was to be in contract by the summer.

We listed it on the NYTimes website first and although we received little interest there (like really no point in wasting your time) we did get one couple who, if their life and financial obligations had worked out, we would have sold it to them.

We tried courting buyer’s brokers but even with an offer of a 2.5% commission (what they’d get when working with a seller’s broker) but we had little interest.  It wasn’t until we listed it on StreetEasy.com (at $599! and also owned by Trulia) that we received more interest on our home but not the traffic we were seeing at other local open houses.  We even paid our daughter to hand out flyers outside these open houses!

What was the problem?  People in the brownstone price bracket seem to work with brokers rather than looking on their own.  The other factor was that our house has its drawbacks:  it faces an expressway.  We needed to get people to the house to see that with our high-quality windows it was hardly a factor at all.

If we had started our process about 6 months earlier, we are convinced we could have pulled it off but time was running out and we wanted to be settled in our new home city before the school year started.

When you list your house as For Sale by Owner, be prepared to be inundated with brokers pretending they want to show interested buyers your home.  What they really want is to represent you.  We had brokers show up at our low turn-out open houses to ask how it went, which we thought was pretty smug and unprofessional.  Brokers, you should never do that!  The other downside to listing your property on your own is that brokers, in general, do not want to encourage these so there is a bit of a blacklist situation – in our paranoid opinion.

One of the brokers that contacted us did stand out from the rest.  Her name was Danielle Nazinitsky from Corcoran.  She did not hound us the way some of the others did.  She was persistent but at each contact, she provided us with value.  She sent us all the similar properties in our area that were having open houses and provided us with good comparables.  When we’d finally decided it was probably time to pick a broker, she serendipitously sent us a post to her blog entitled, “Resistance is Futile!”

IMG_2074

We were actually hesitant to go with Corcoran because we figured they were the biggest in NYC and probably the most expensive but mainly, we tend to lean toward the underdog. We later learned that the commission was about the same for all the major firms.  Once we realized this, why not go with the one that has the best marketing and that was Corcoran.

Danielle promised that she’d get us an offer within a month and that she did.  Her main strategy was to get it in front of as many eyeballs as possible and take good photos.  From the moment we signed the contract, she was on the case and things moved quickly.

Now, I maintain that my photos were good but, according to brokers and prospective buyers, people want the overlit and in my opinion, misleadingly large kind.  Here is an example of both:

This was mine, taken in winter with a cozy fire.  I thought it was pretty good!

kitchen copy

This was our second attempt – brighter and showing off the deck.

IMG_0950

And the professional one.  Ok, it looks pretty spectacular and it really shows off the whole room.

kitchen (2)

There are several advantages to having a broker.  She does all your open houses so you get your weekends back and you only need to worry about cleaning.  When you do get an offer, she negotiates with the other broker and deals with all the questions.  When you are in-contract, she is there for any inspections and additional showings for the buyers, as there inevitably will be.

Still, if you want to give For Sale by Owner a shot to save the money, here is our advice:

  1. Start early
  2. Get professional photos
  3. Have a buyer broker open house and offer a commission
  4. Find out which real estate websites are the most frequented and spend the money to list on those.  Don’t bother with those listing online services.
  5. Make flyers and hand them out all over your neighborhood
  6. Make sure your house is open house ready – clear all the clutter, clean it so you can eat off the floors, touch up the paint and spend some money on art (Ikea has some nice inexpensive framed pieces), new towels, and a professional designer consultation if you are at the higher end of the price range.

When you’ve given it your best shot and it is time to hire a broker, give Danielle a call.  Corcoran gave us a deal that if any interested buyers that were a result of our earlier efforts made an offer, Corcoran would not take a commission.  We’d highly recommend such a clause.  They offered us two weeks to get an executed contract.  This is ridiculous.  We did not think that any of the prospective buyers would be back but just our luck, one made an offer!  Two weeks was not enough time but in the end, it didn’t matter because this buyer was looking to low ball us in addition to having made a racist comment about undocumented immigrants that we were not cool with.

All that aside, you definitely want to have this clause in the contract but ask for a month to execute the contract.  If they want your business, I think they will agree.