
WE ARE AMAZON ASSOCIATES
– we get money when visitors purchase something from one of our links to Amazon. But we do not link to any products that we don’t recommend!
It’s been a whirlwind of a year, finishing the renovations on our brownstone after 6 years of work and then selling up and leaving NYC. Now that we’ve had the chance to take a breath, we felt that we owed it to our readers to post some final before and after photos. Because who doesn’t like some good before and after renovation photos?!
The house was built in 1899 and had only three owners before us.
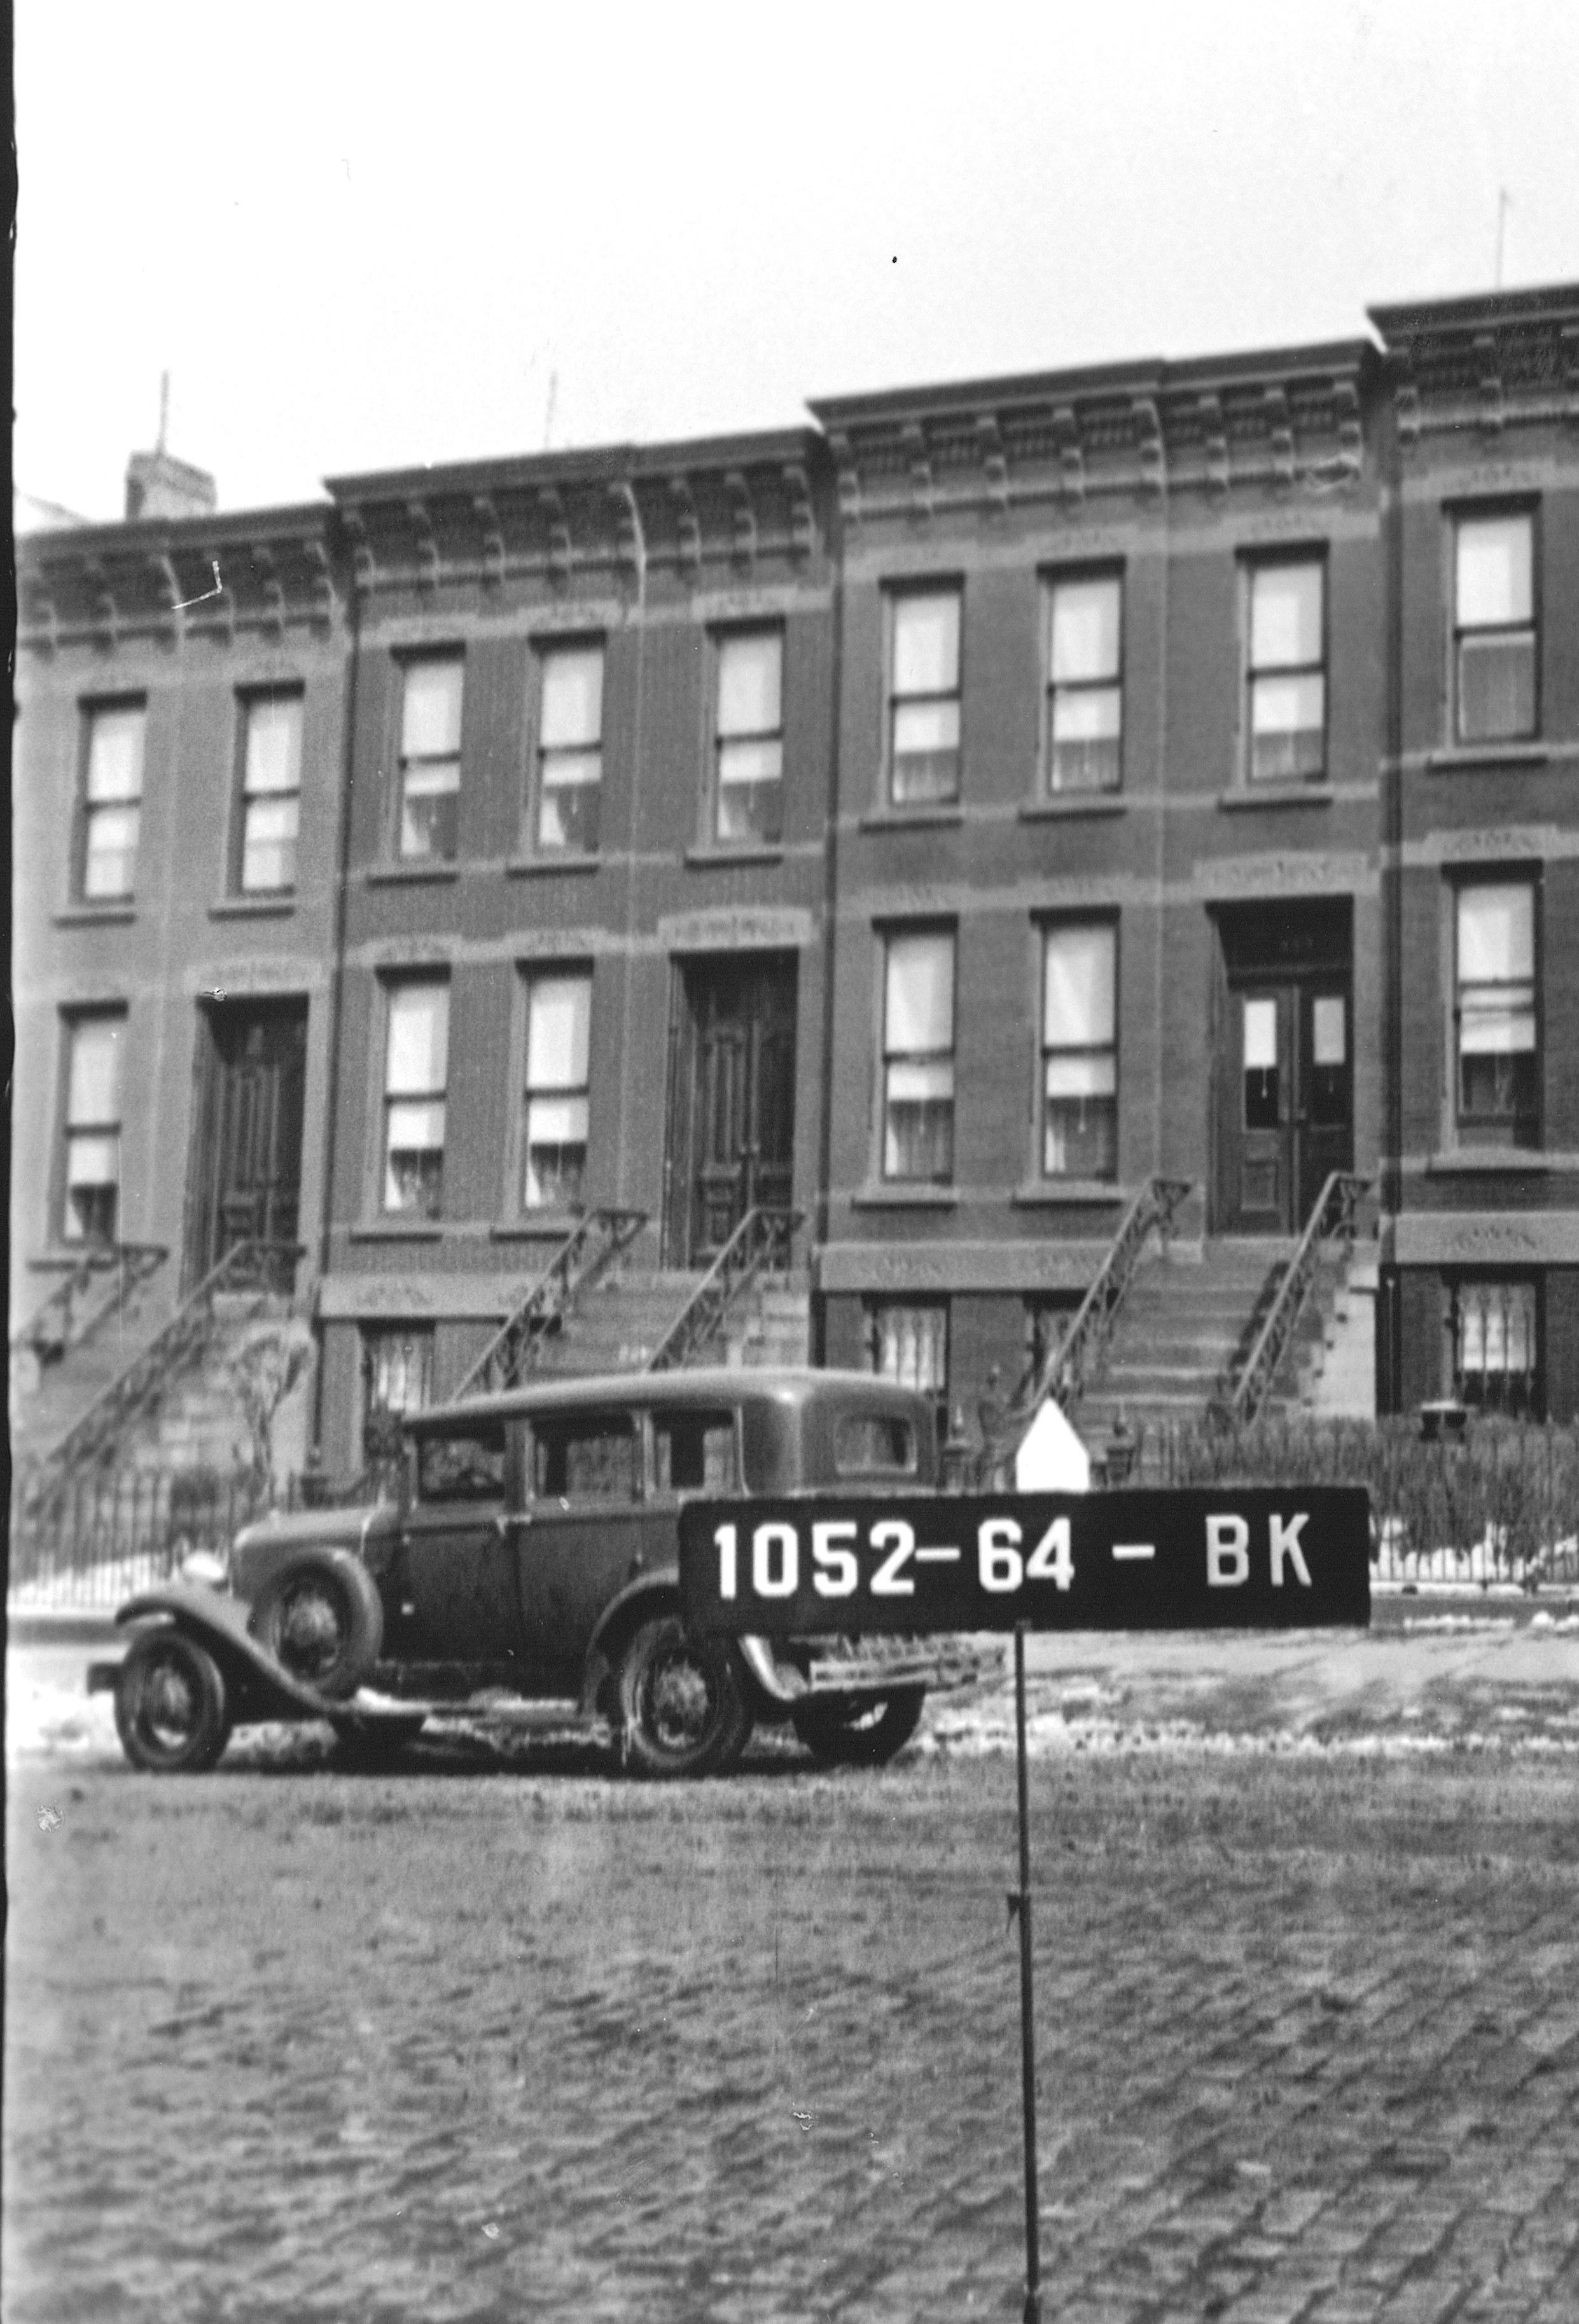
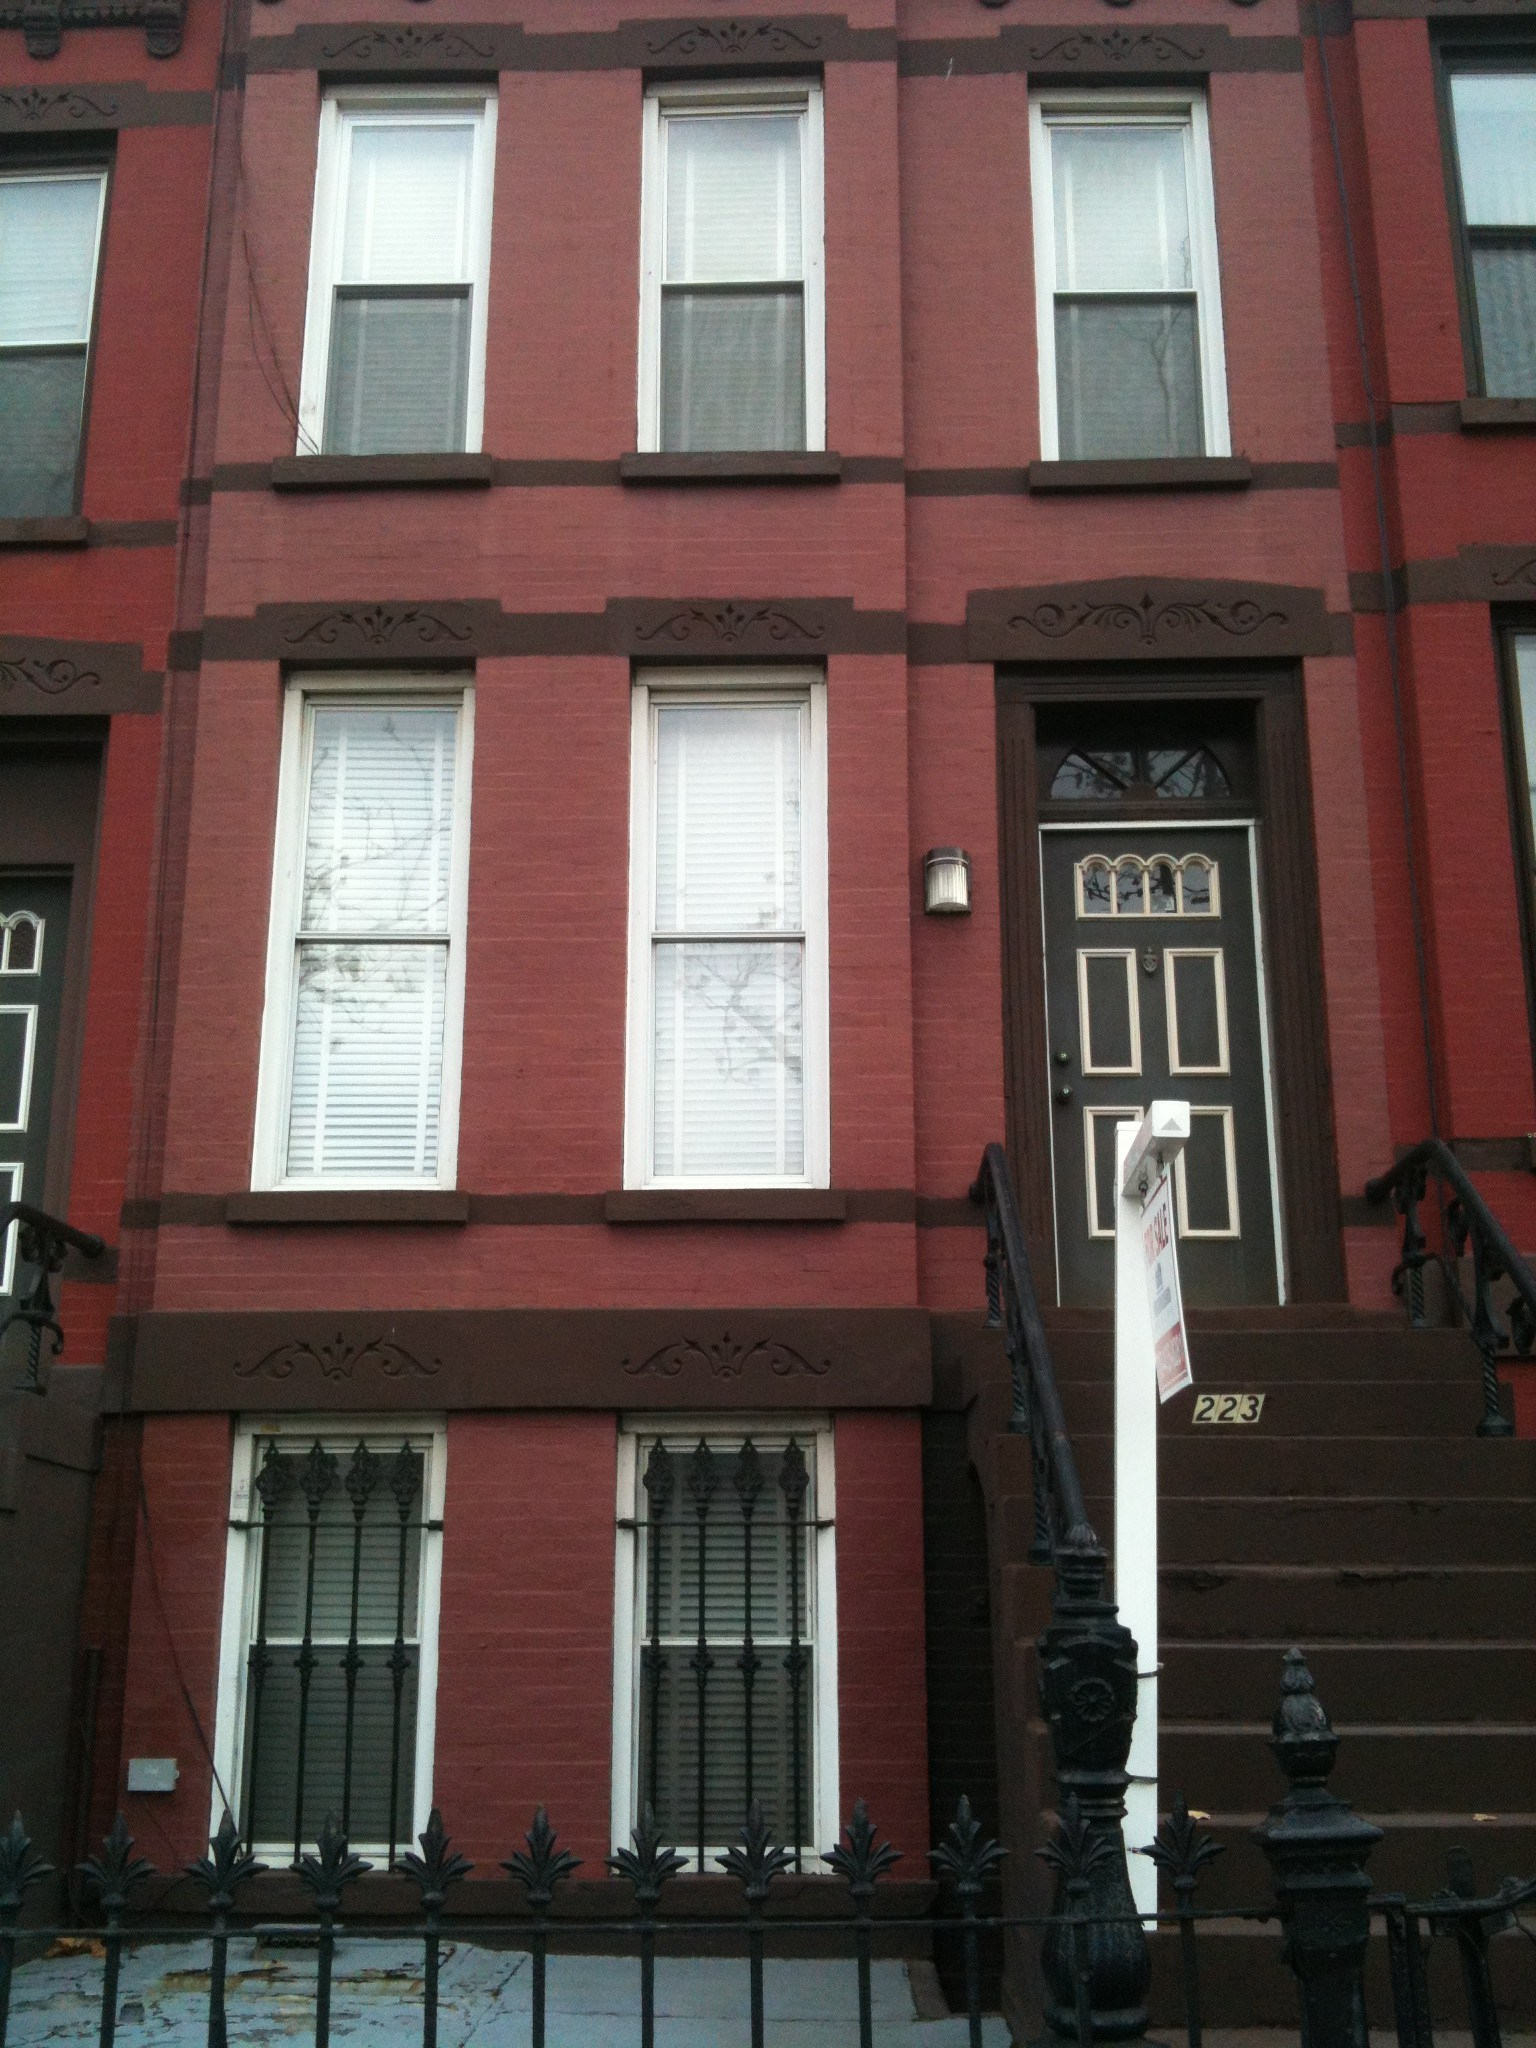
The Front Exterior
When we first saw the house back in 2012, we knew it had potential. The bones were good and the karma felt right. It was calling out to have a family grow up there again.
Although we took down some walls and put others up, we did overall lighten the load on the upper floors, stripped off years of old paint, and tore up layers of linoleum. At the time, we could almost hear the house sighing in relief as each old layer was peeled off.
Although it doesn’t look like we did much to the front exterior, it sure was a lot of work, time and money.
- We replaced all the windows with the Marvin brand and were pretty happy with the noise reduction.
- We had the stairs re-done with the finish that is meant to look like brownstone.
- We also had a contractor repave the front area but we did the planting area ourselves.
Other DIY projects included replacing the front and downstairs doors as well as sanding and painting the original fence and railings. In fact, we feel tired just thinking about all the work we did out there.

During out first walkthrough we thought we’d put the kitchen and living room on the garden level where the original kitchen was. After suggestions from a high-end architect (that we did not end up using – we hired Matthew Cordone), we put those on the parlor level, which is a no brainer really because that is where all the light and high ceilings are. The garden floor was perfect for our bedrooms.
The Garden Floor

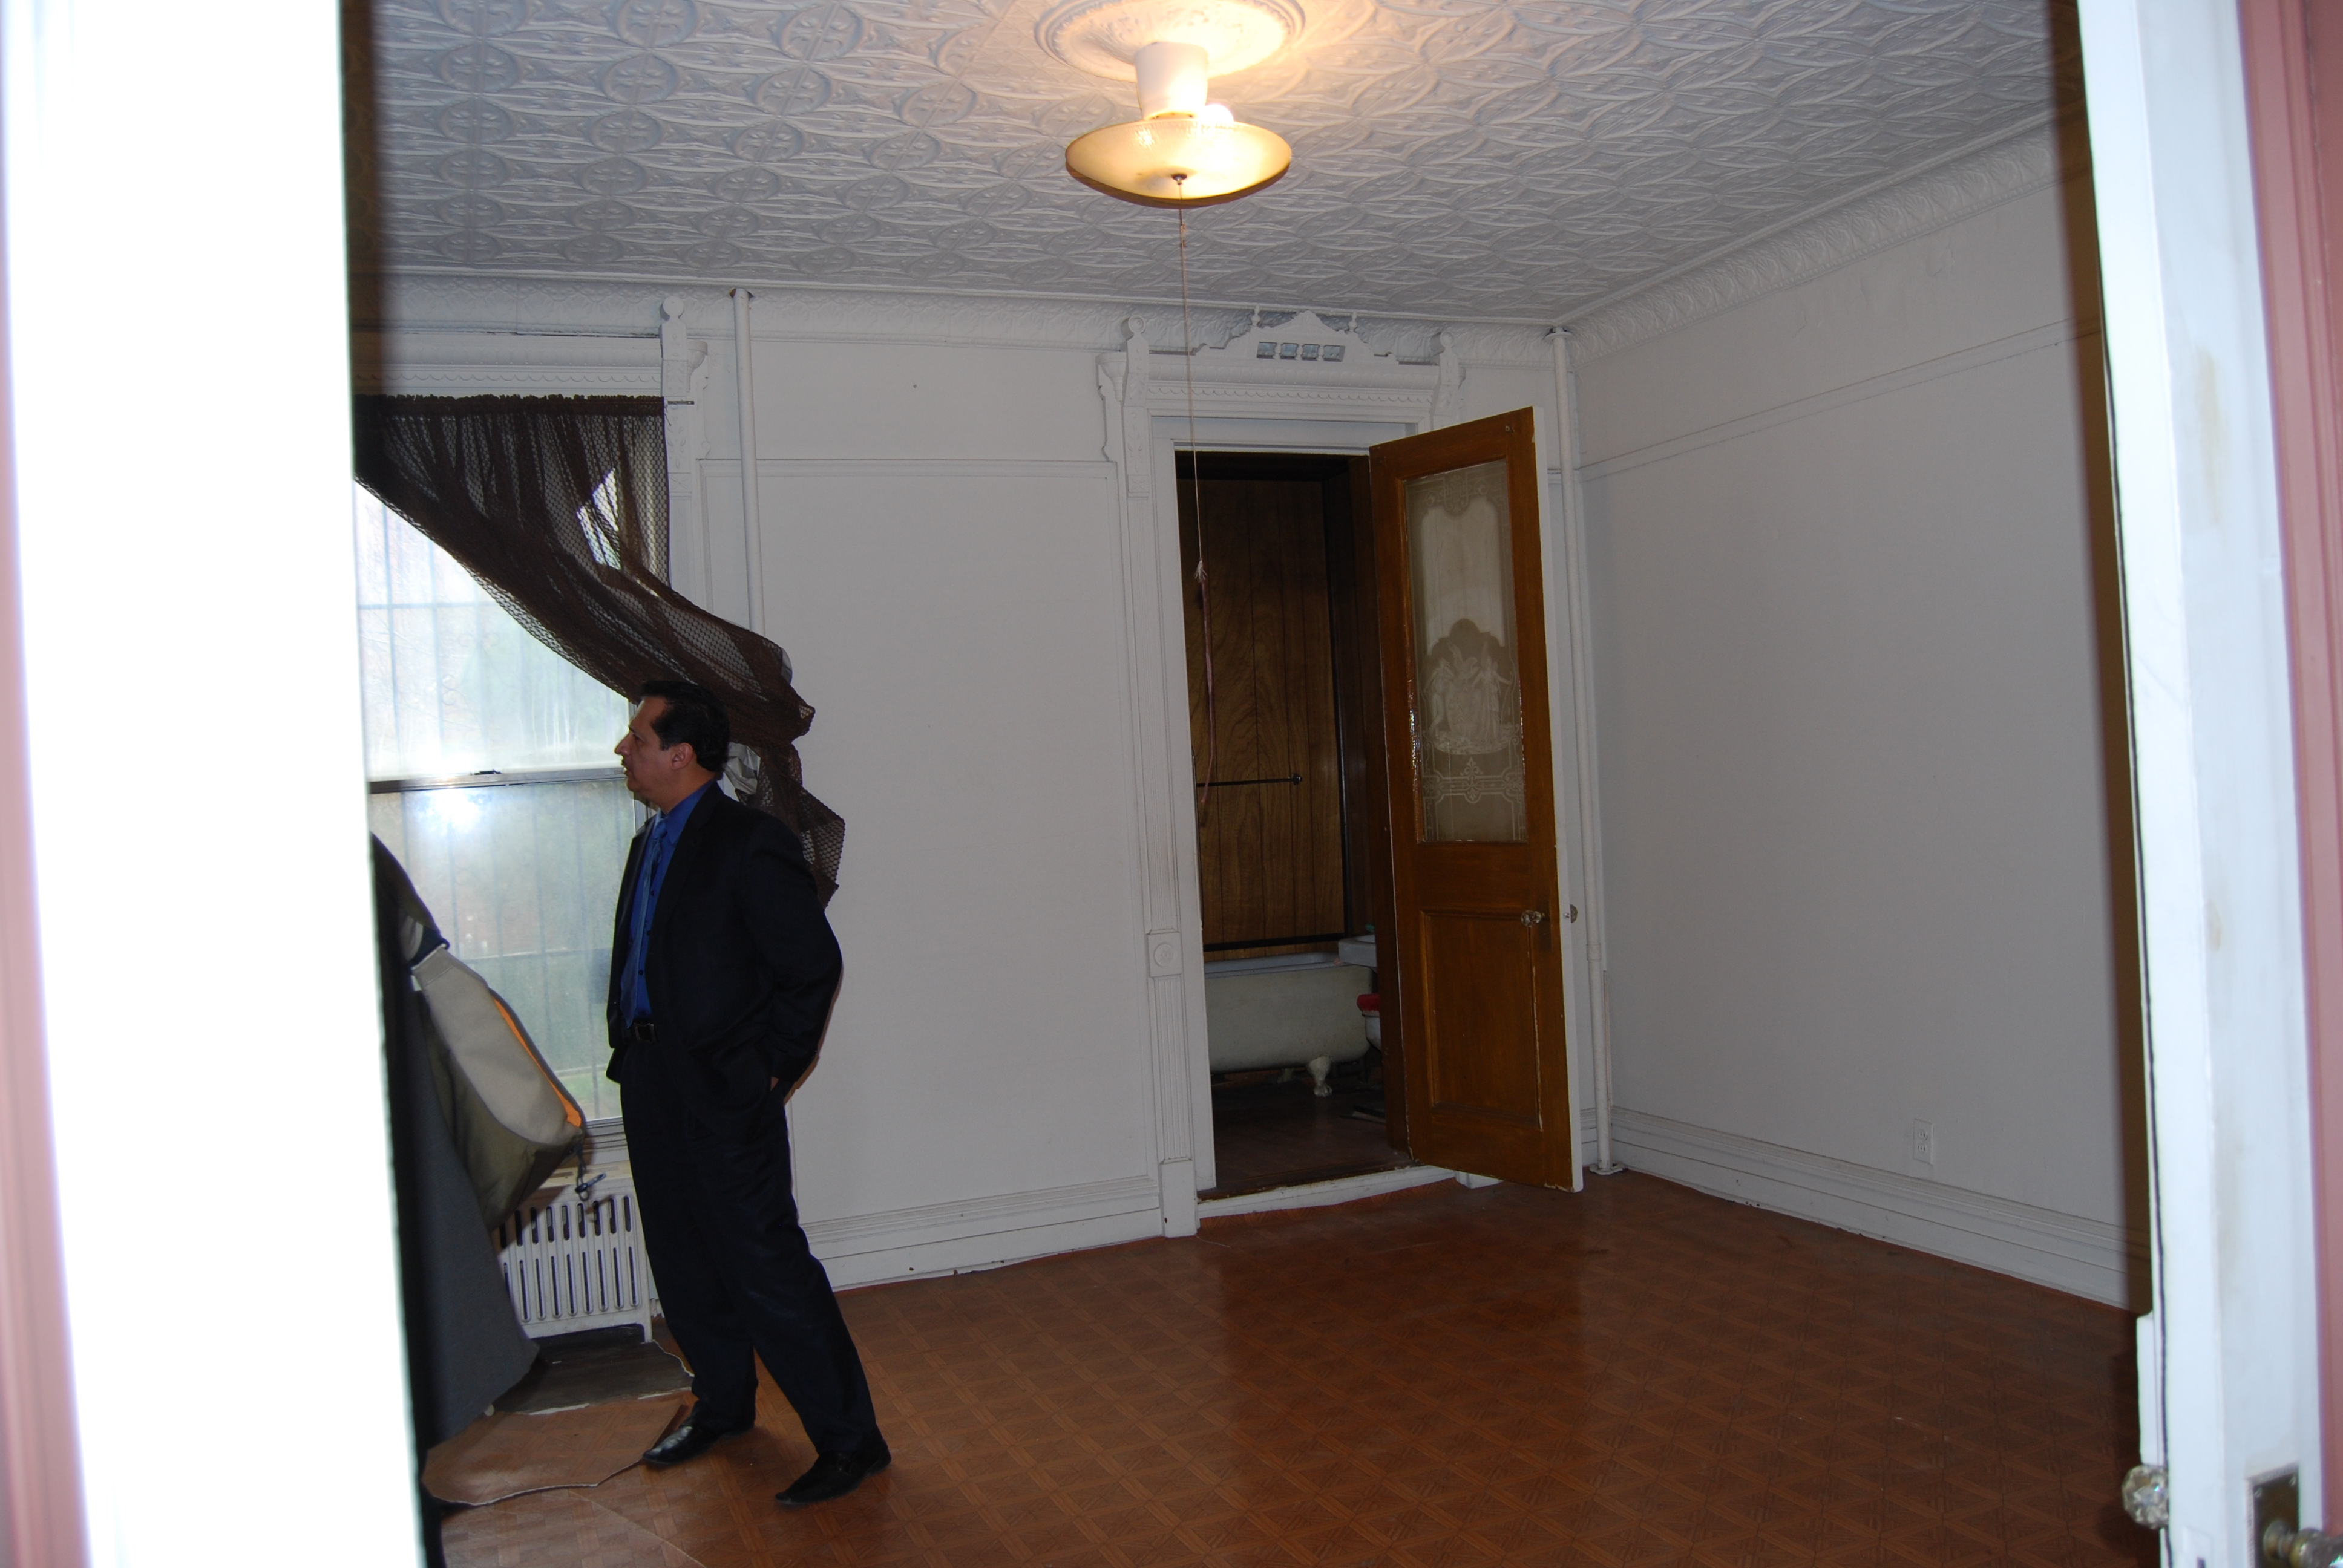
Our daughter’s room was in the front of the house. The photo above is the view facing the back of the house. We gained a few inches after removing the drop ceiling. The room looks dark and small here. We believe this was originally the dining room. On the left is a hallway that leads to a pantry and the kitchen and on the right is another pantry with a window to pass dishes through from the kitchen.
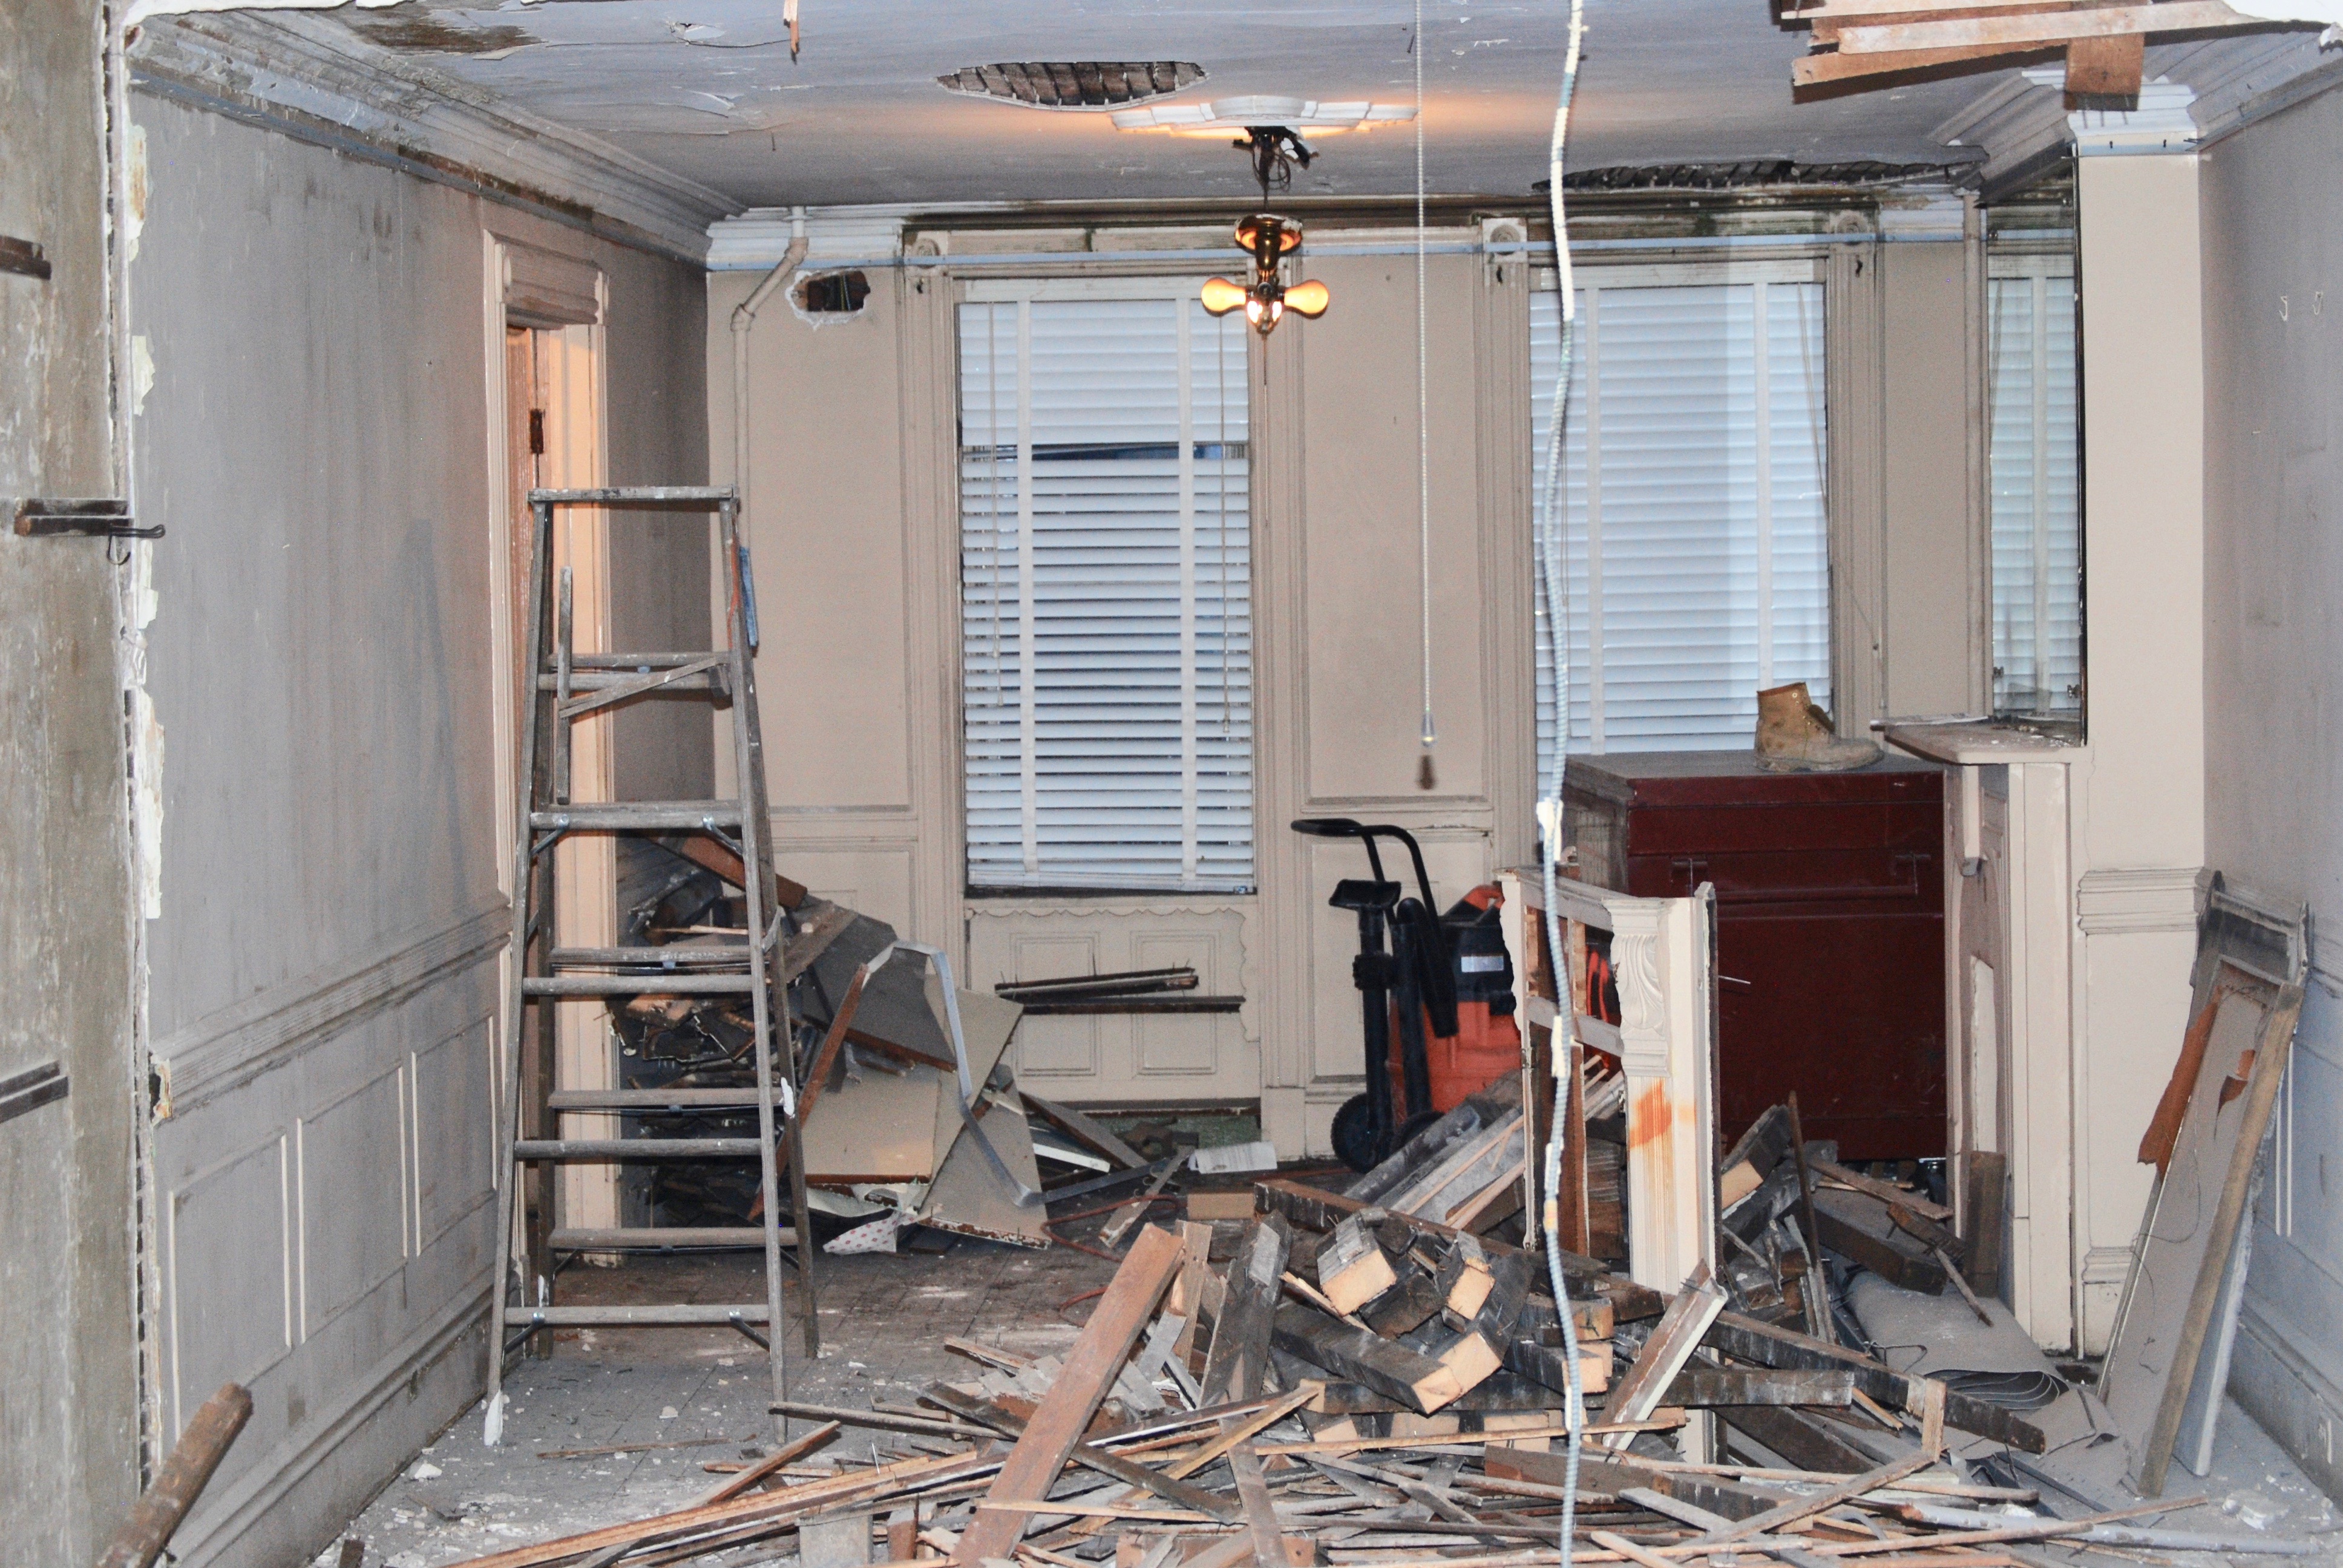
The room facing the front of the building during demolition. Our contractor wasn’t the tidiest.
After

Although on the garden level, this room has lots of direct sunlight. We kept all the original molding around the windows and the chair rail but the ceiling could not be saved without prohibitive costs. The new molding looks almost exactly like the original.
Our only DIY in this room was stripping the lead paint off of the fireplace mantle and the double doors leading into the bedroom. We could not get the gold paint off of the centerpiece on the marble mantle. Lesson: don’t paint marble gold, people!
We removed the second hallway (on the first before photo above) and the pantries (on the right of the built-in) to add a closet for the bedroom and a second bathroom.

It never looked this white in person! And, we don’t recommend white tiles on the floor.
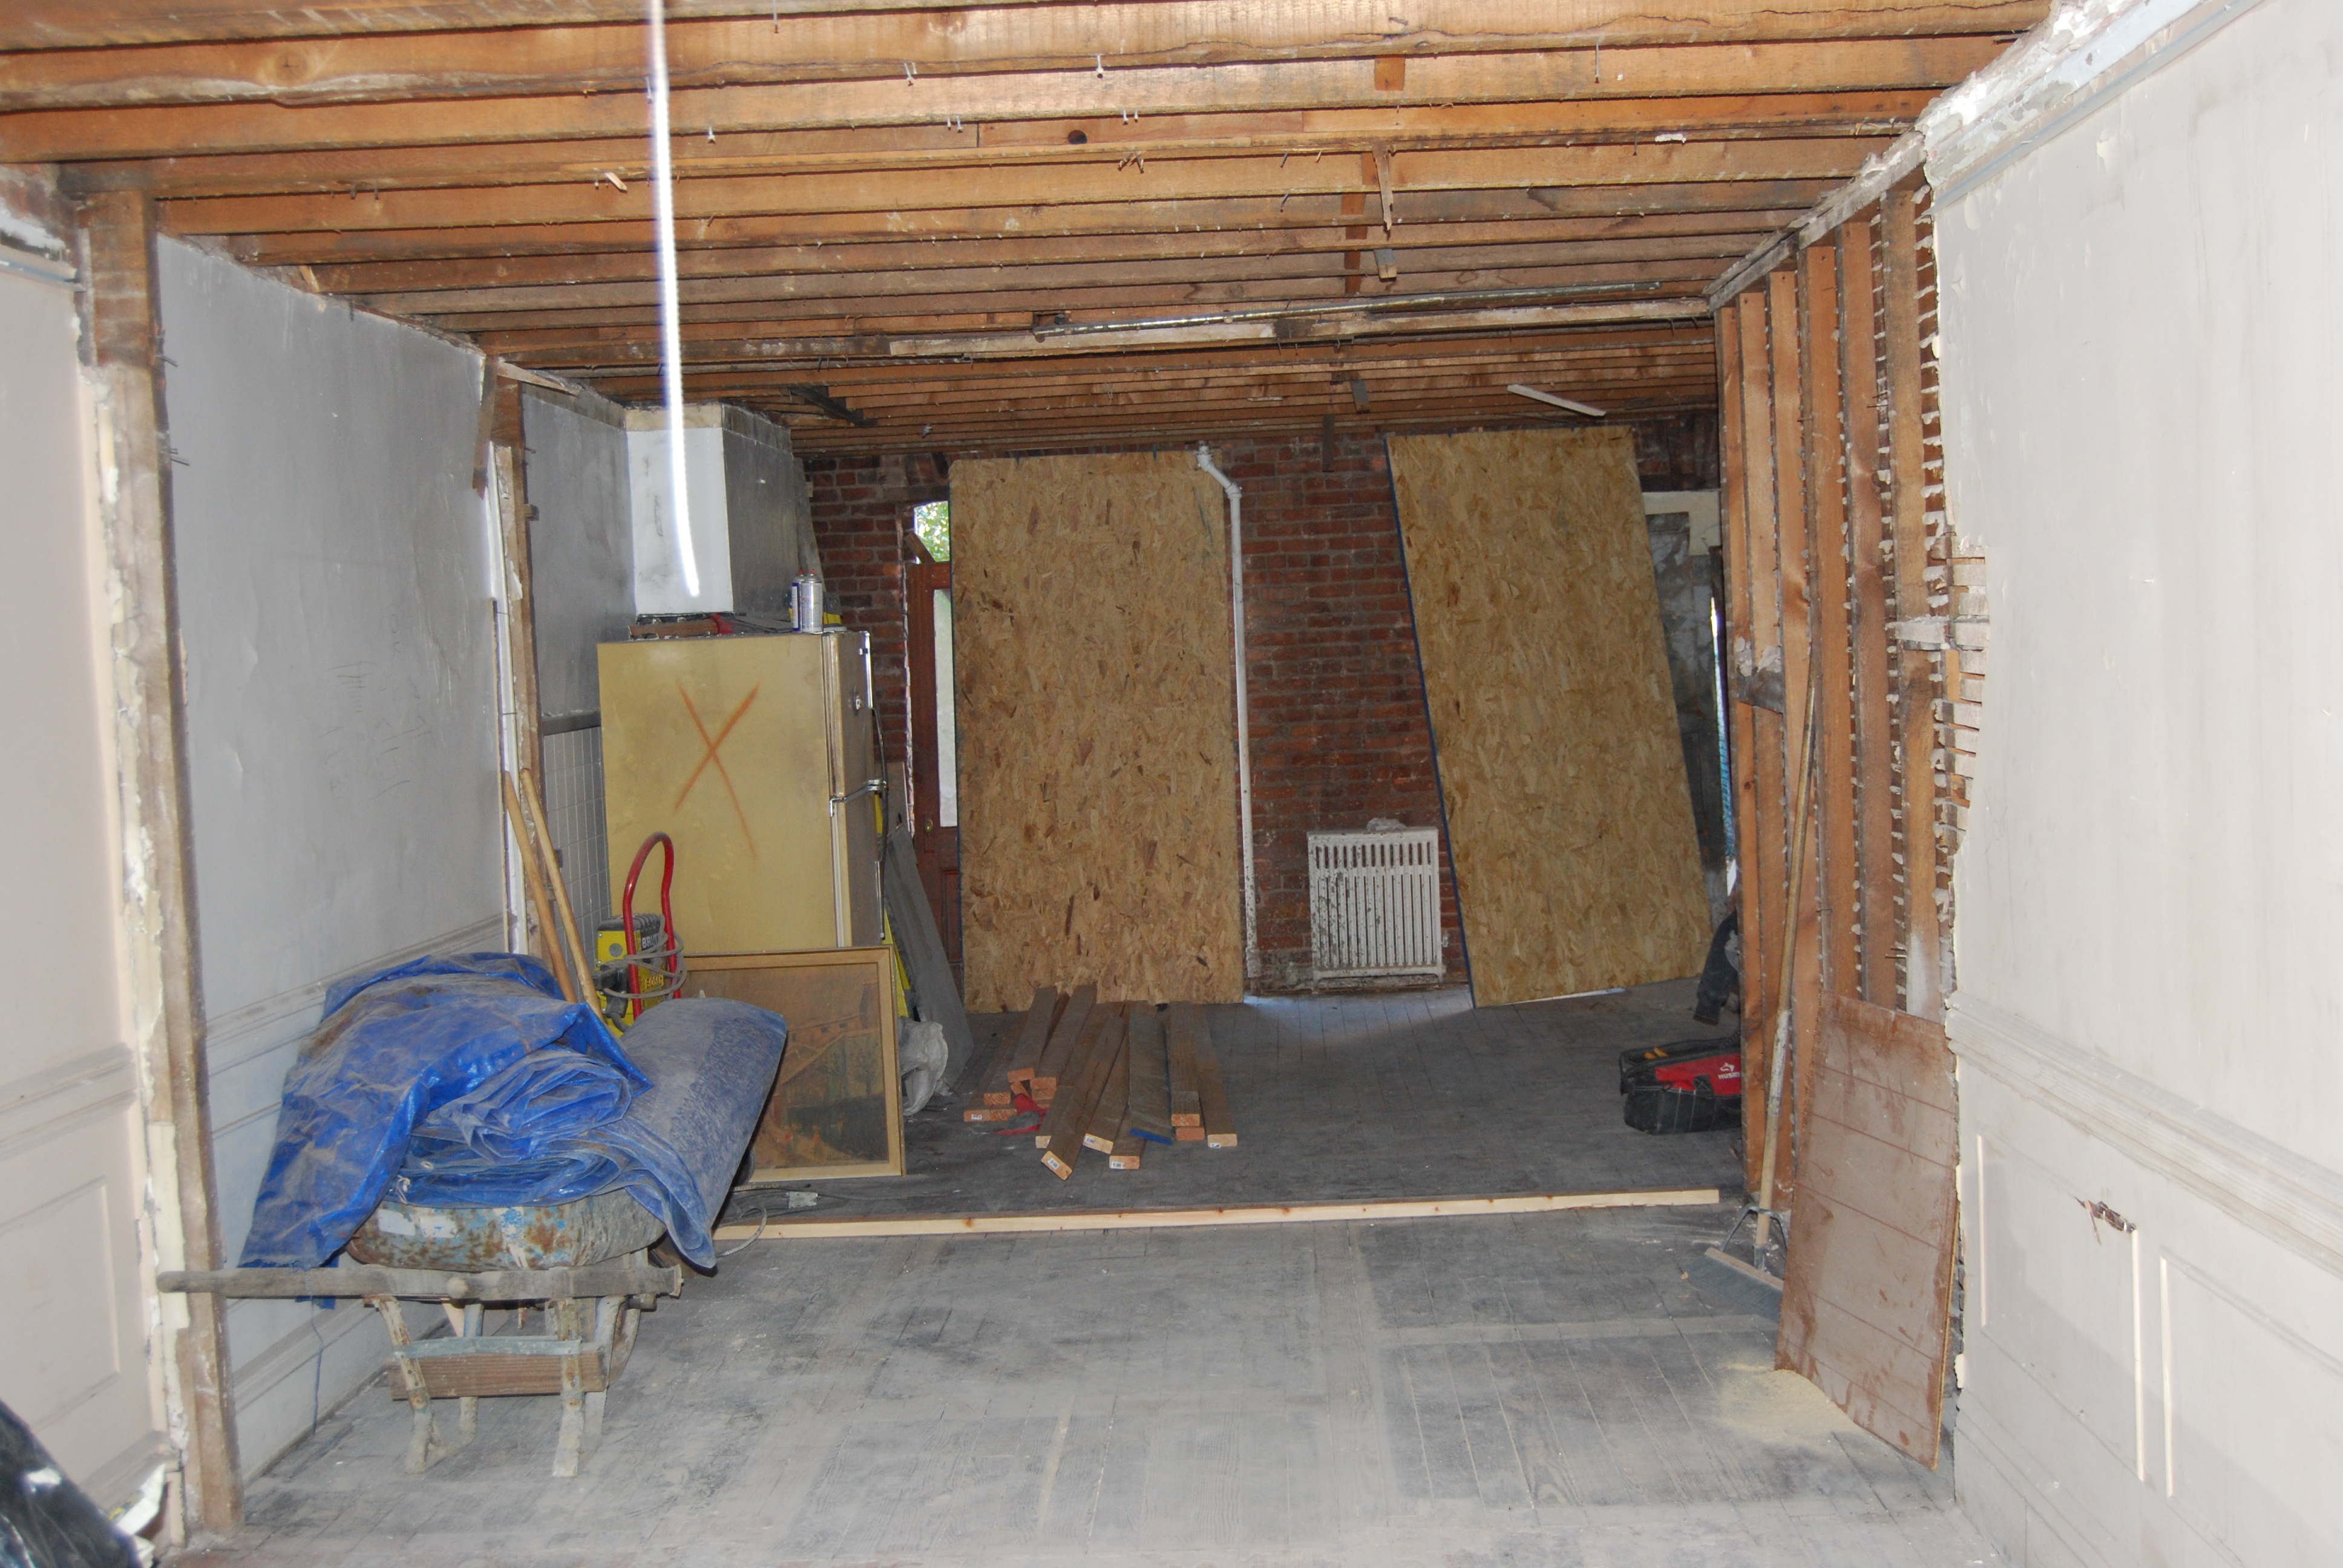
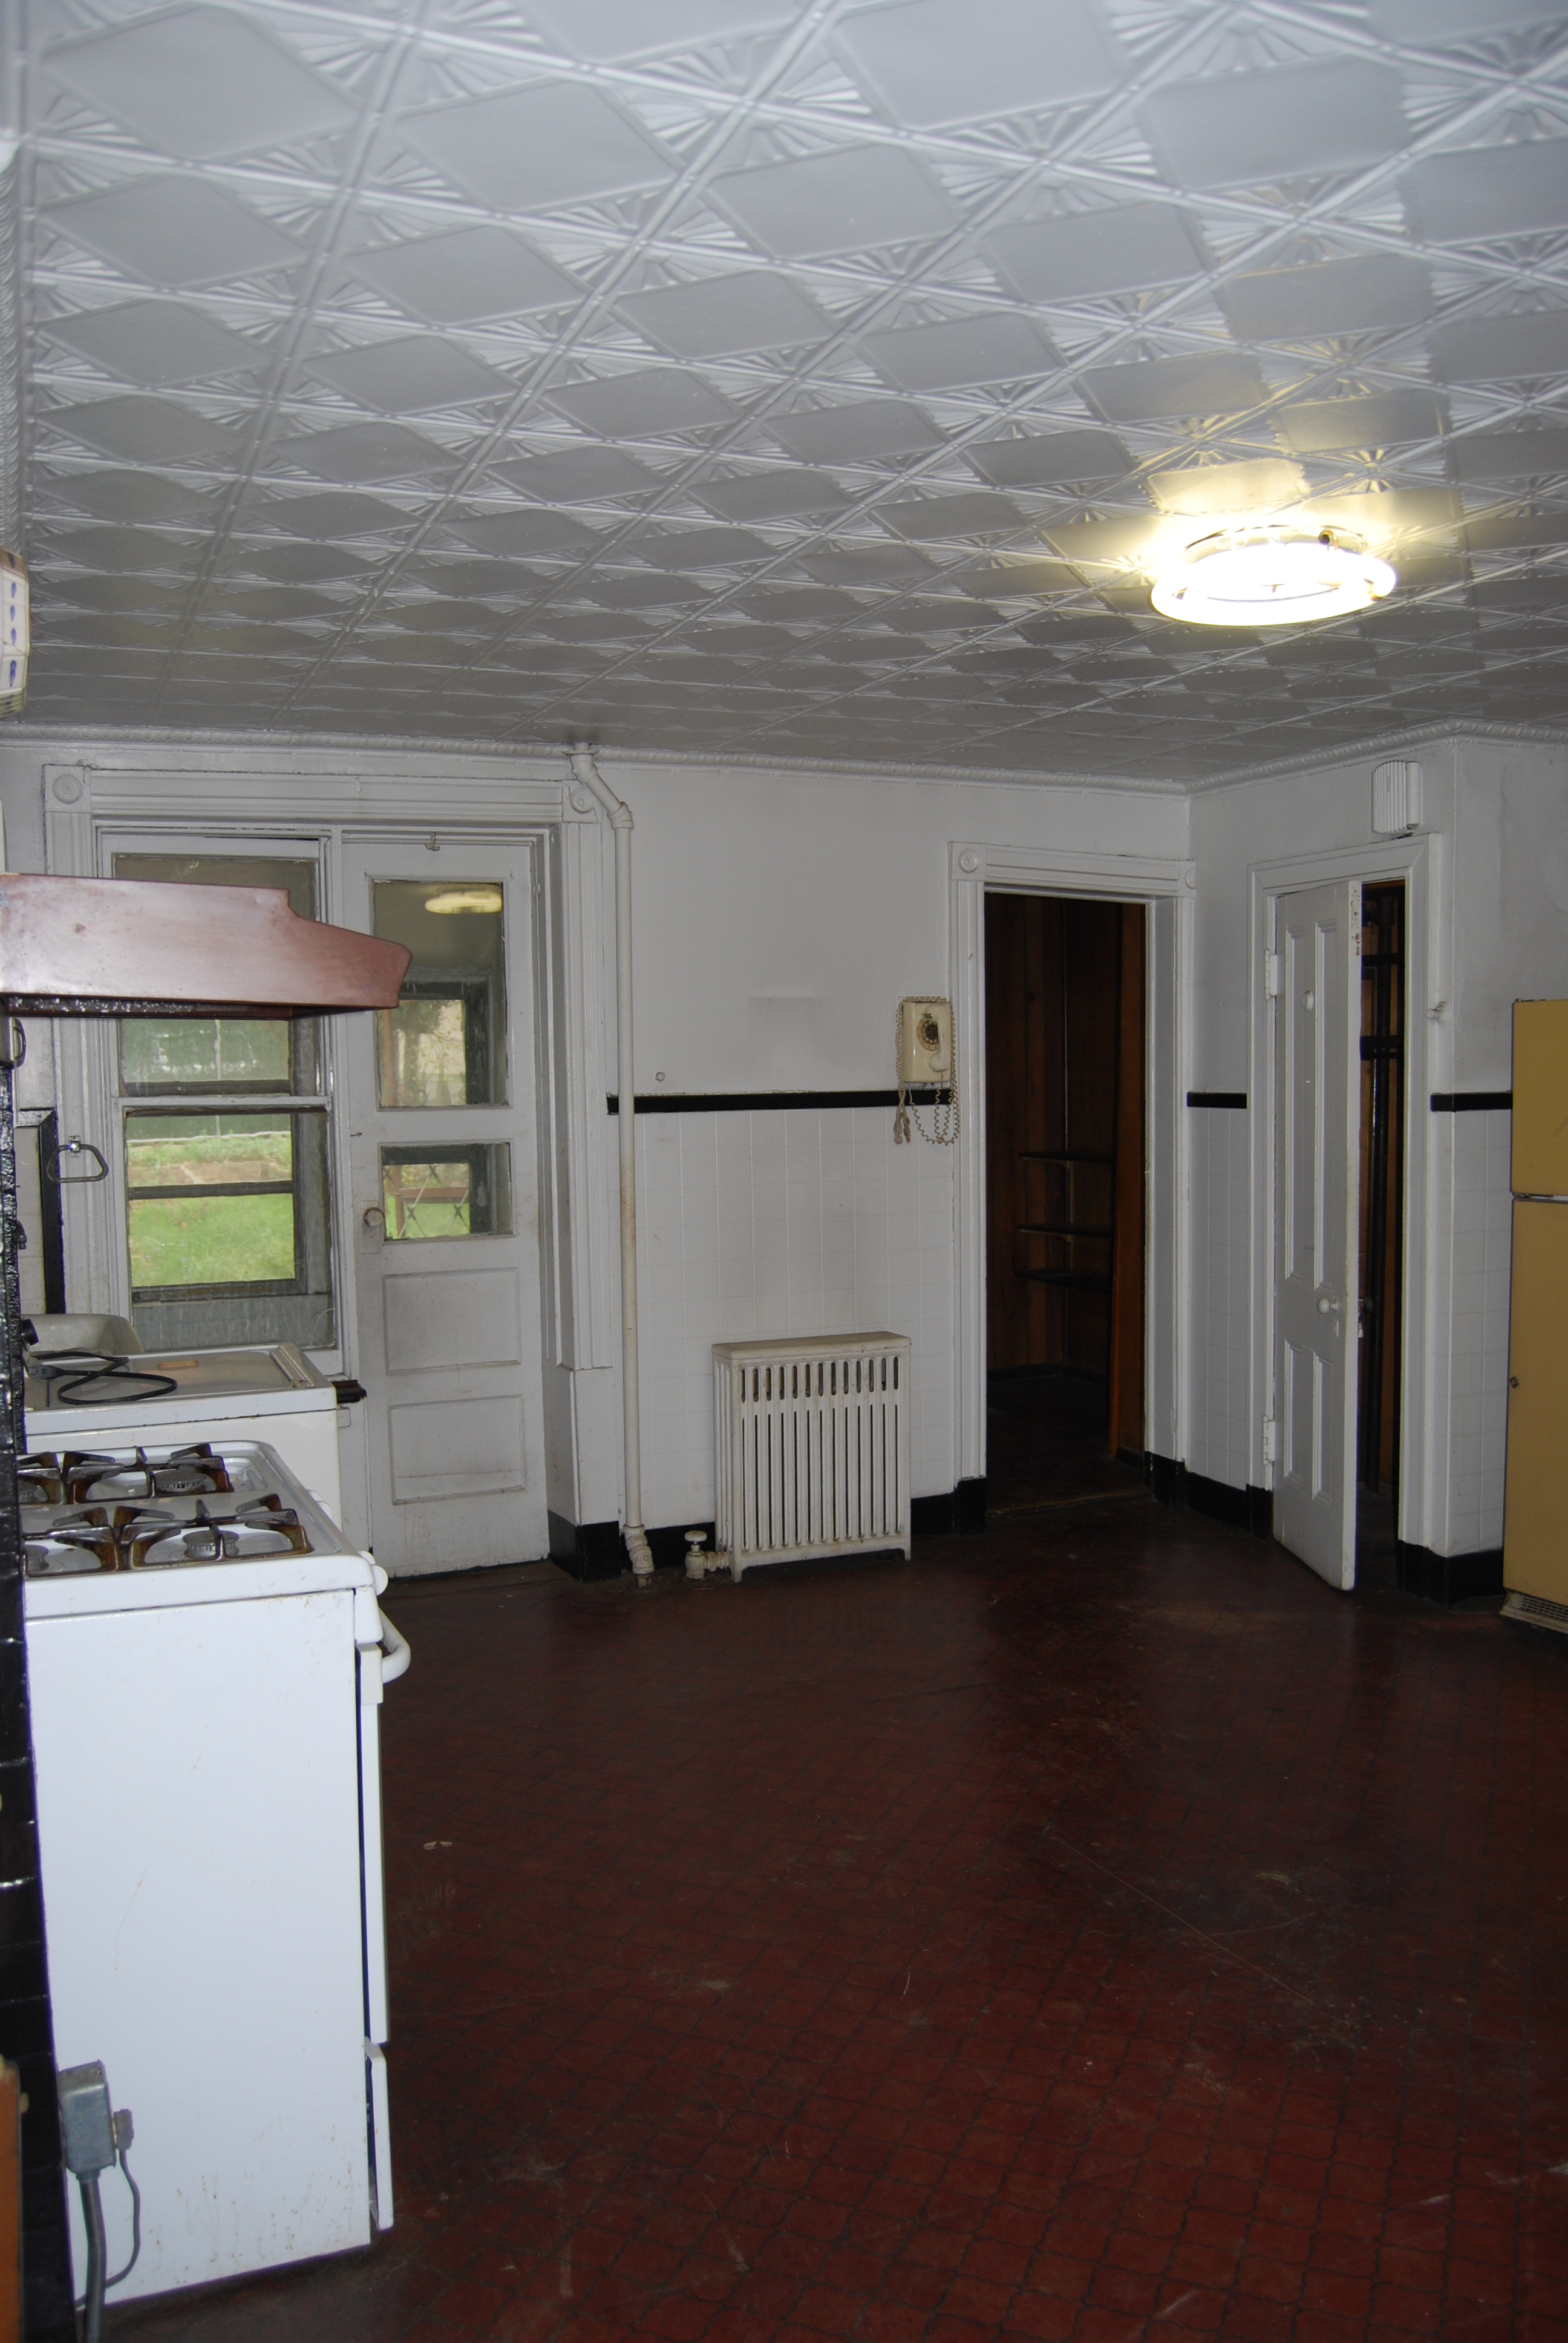
Below, we took out the original kitchen for the house and extended the house 10 ft to make room for a media room and master bedroom suite. It is hard to grasp with the before photos. Below is from the perspective of the front bedroom looking to the back of the house before they took out the outer wall.

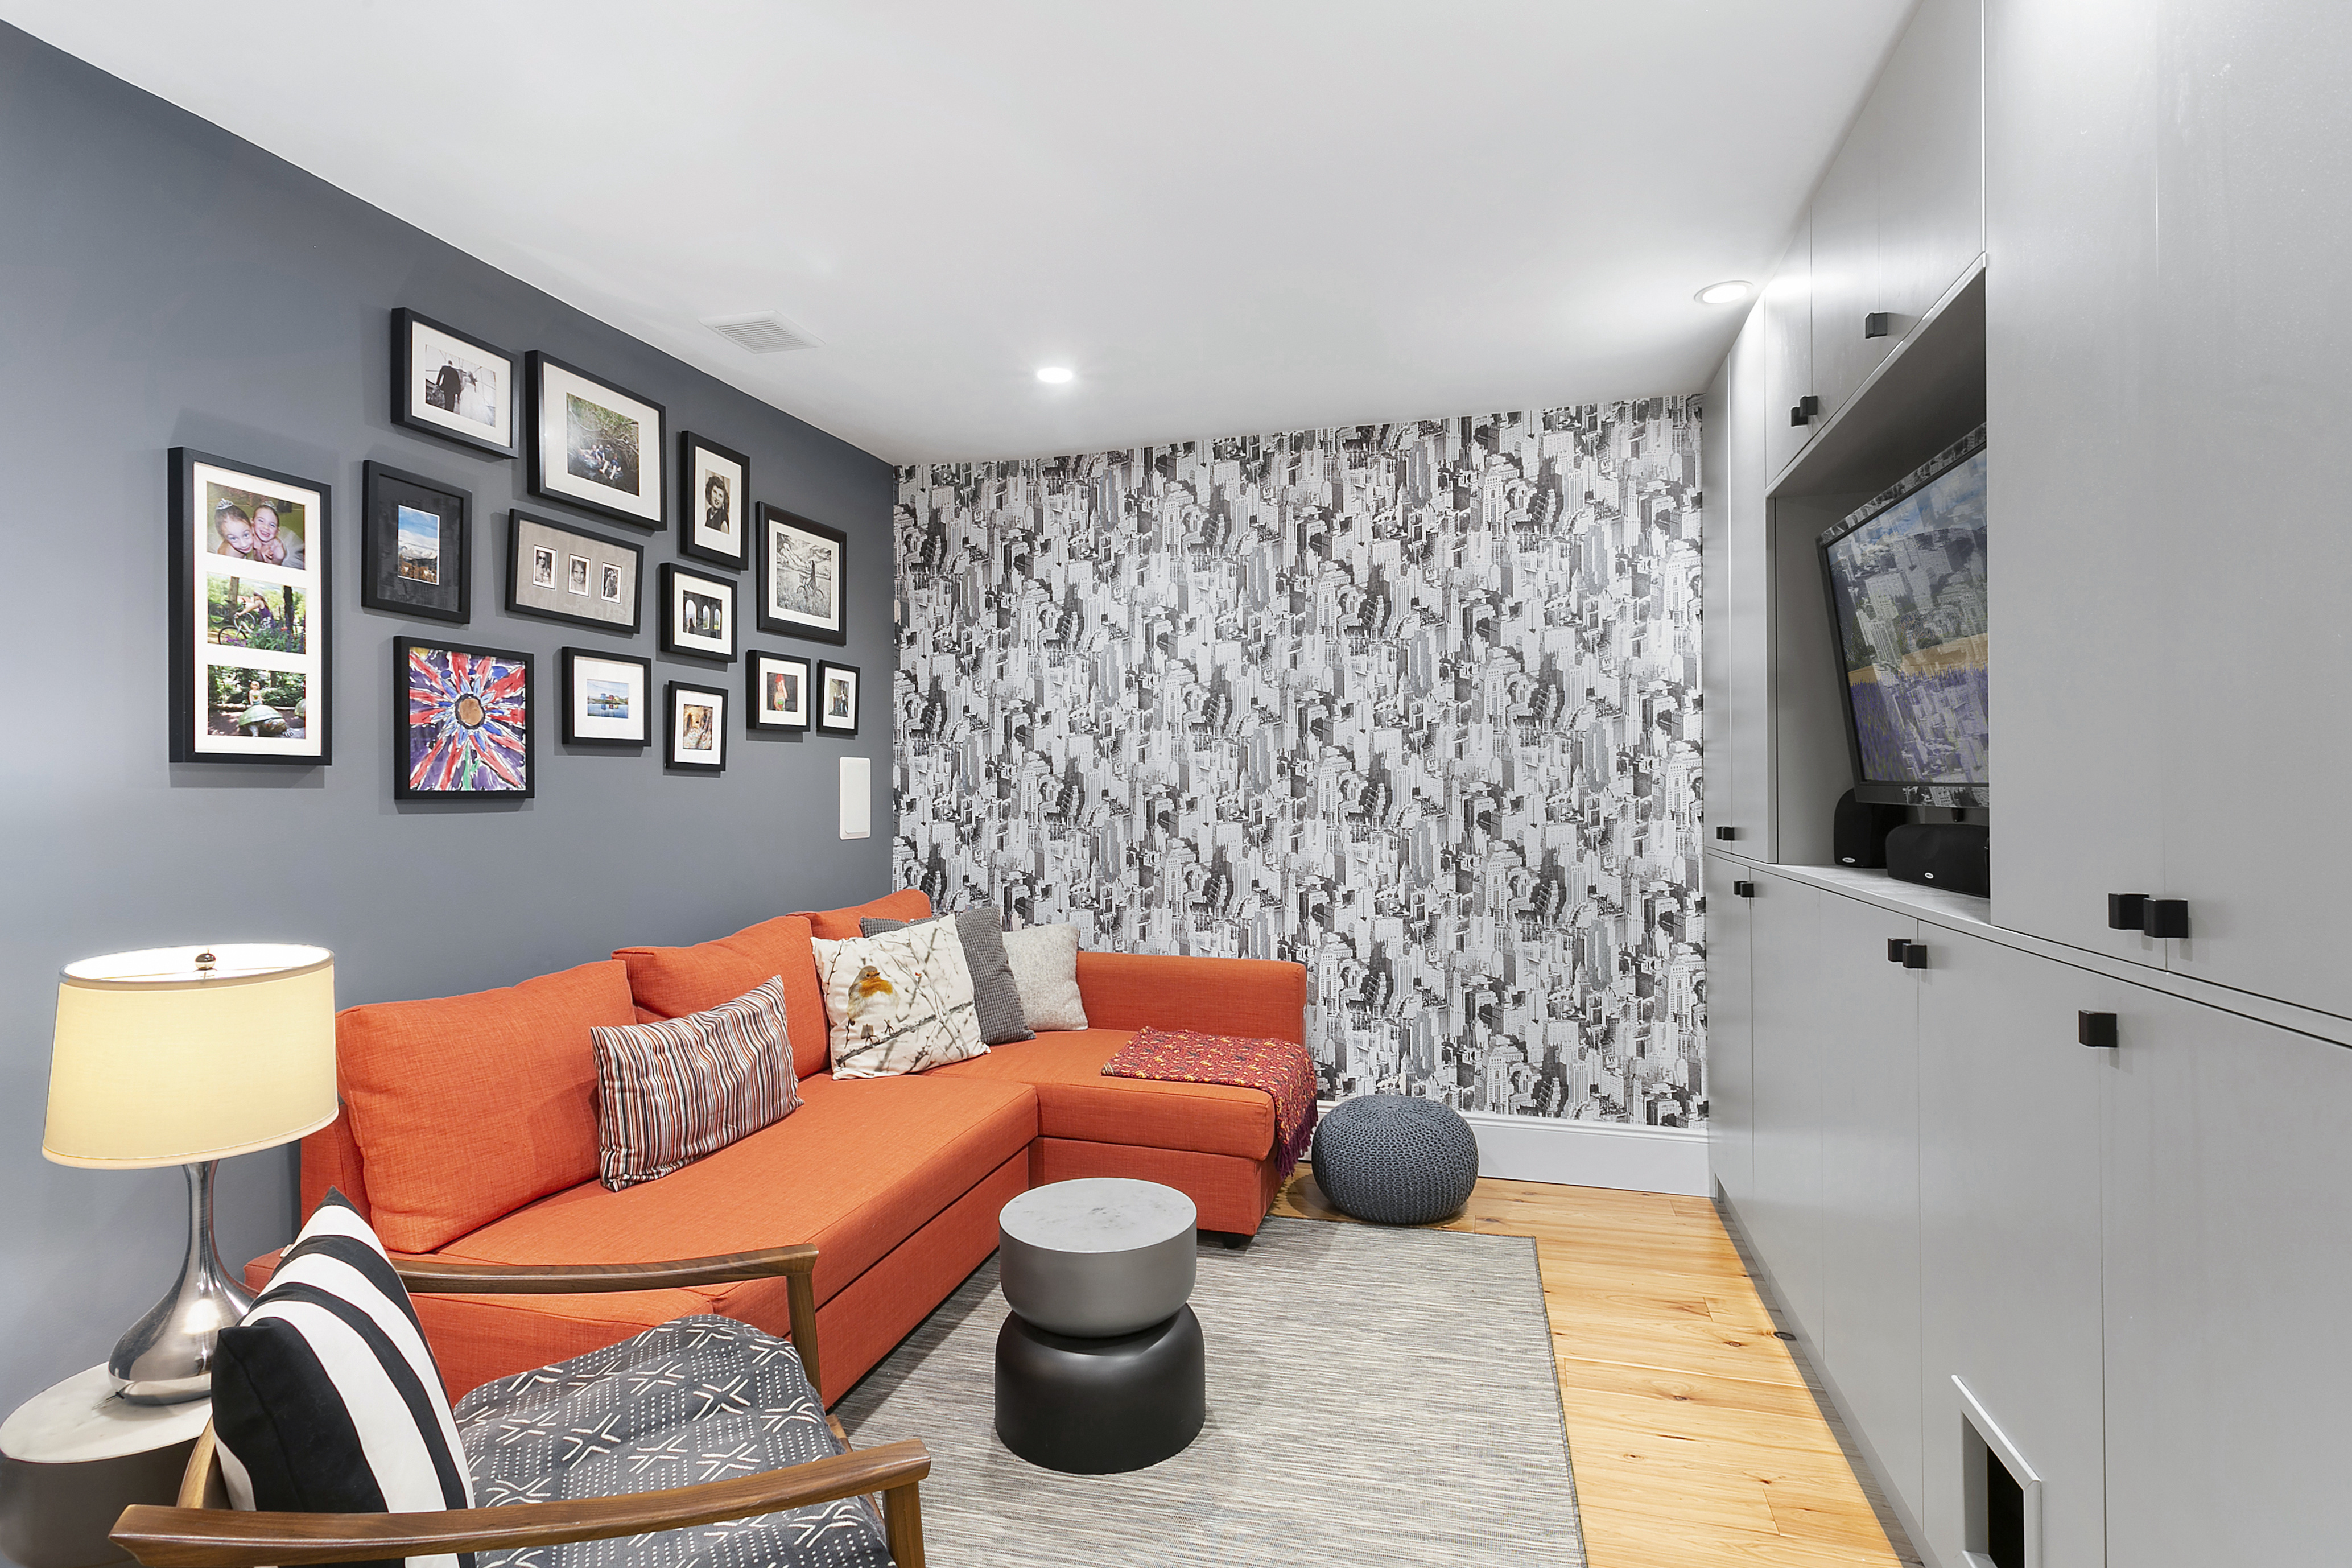
Afterward, walls were put in the middle of the house for the media room, forever referred to as the “middle room.” It is a small but mighty room that houses the washer dryer and the kitty litter too. Our DIY was installing the cabinets and the floors. We hired someone to wallpaper because we’d seen bad wallpaper DIYs before. Loved this Urban Chic Big Apple wallpaper from York Wallcoverings.
The old kitchen leads out to the backyard below. To the right, there is the added bathroom that was made out of doors.
And the after ….

The majority of the master bedroom is the new house extension so there is no original architectural detail in the room. In the bathroom, below, the original brick fireplace remains behind the shower wall. The room was not big enough for the dream separate bath and shower but coming from a one sink tiny apartment bathroom, this was luxury. So much white!

The Second Floor
The rental apartment was mainly a DIY job except for the ceiling restoration (in the bedroom) and replacement (in the living room) in addition to some help with the floors.
The floors in the apartment were too damaged to restore and were so creaky that we needed to reinforce and put in some soundproofing. Other than that, the bedroom, below left, was mainly a clean-up job. We put in new windows in year five.


The bathroom was a full DIY gut. Pink tiles were someone’s dream once upon a time.

The living room and kitchen area involved removing a lot of linoleum and wallpaper during a memorable humid NYC summer. We also took out the half wall to open up the kitchen.

A little exposed brick and some chalkboard paint helped give it a little more personality.
After

The Back of the House and BackYard
Before

Yowza! The back of the house was pretty sad-looking. We are not sure what year they added the shed on the right or the bathroom bump-out on the left but it did not stand the test of time. The bump-out turned out to be constructed with old doors.

The good thing about the yard was its size. The bad were the dead rat carcasses.
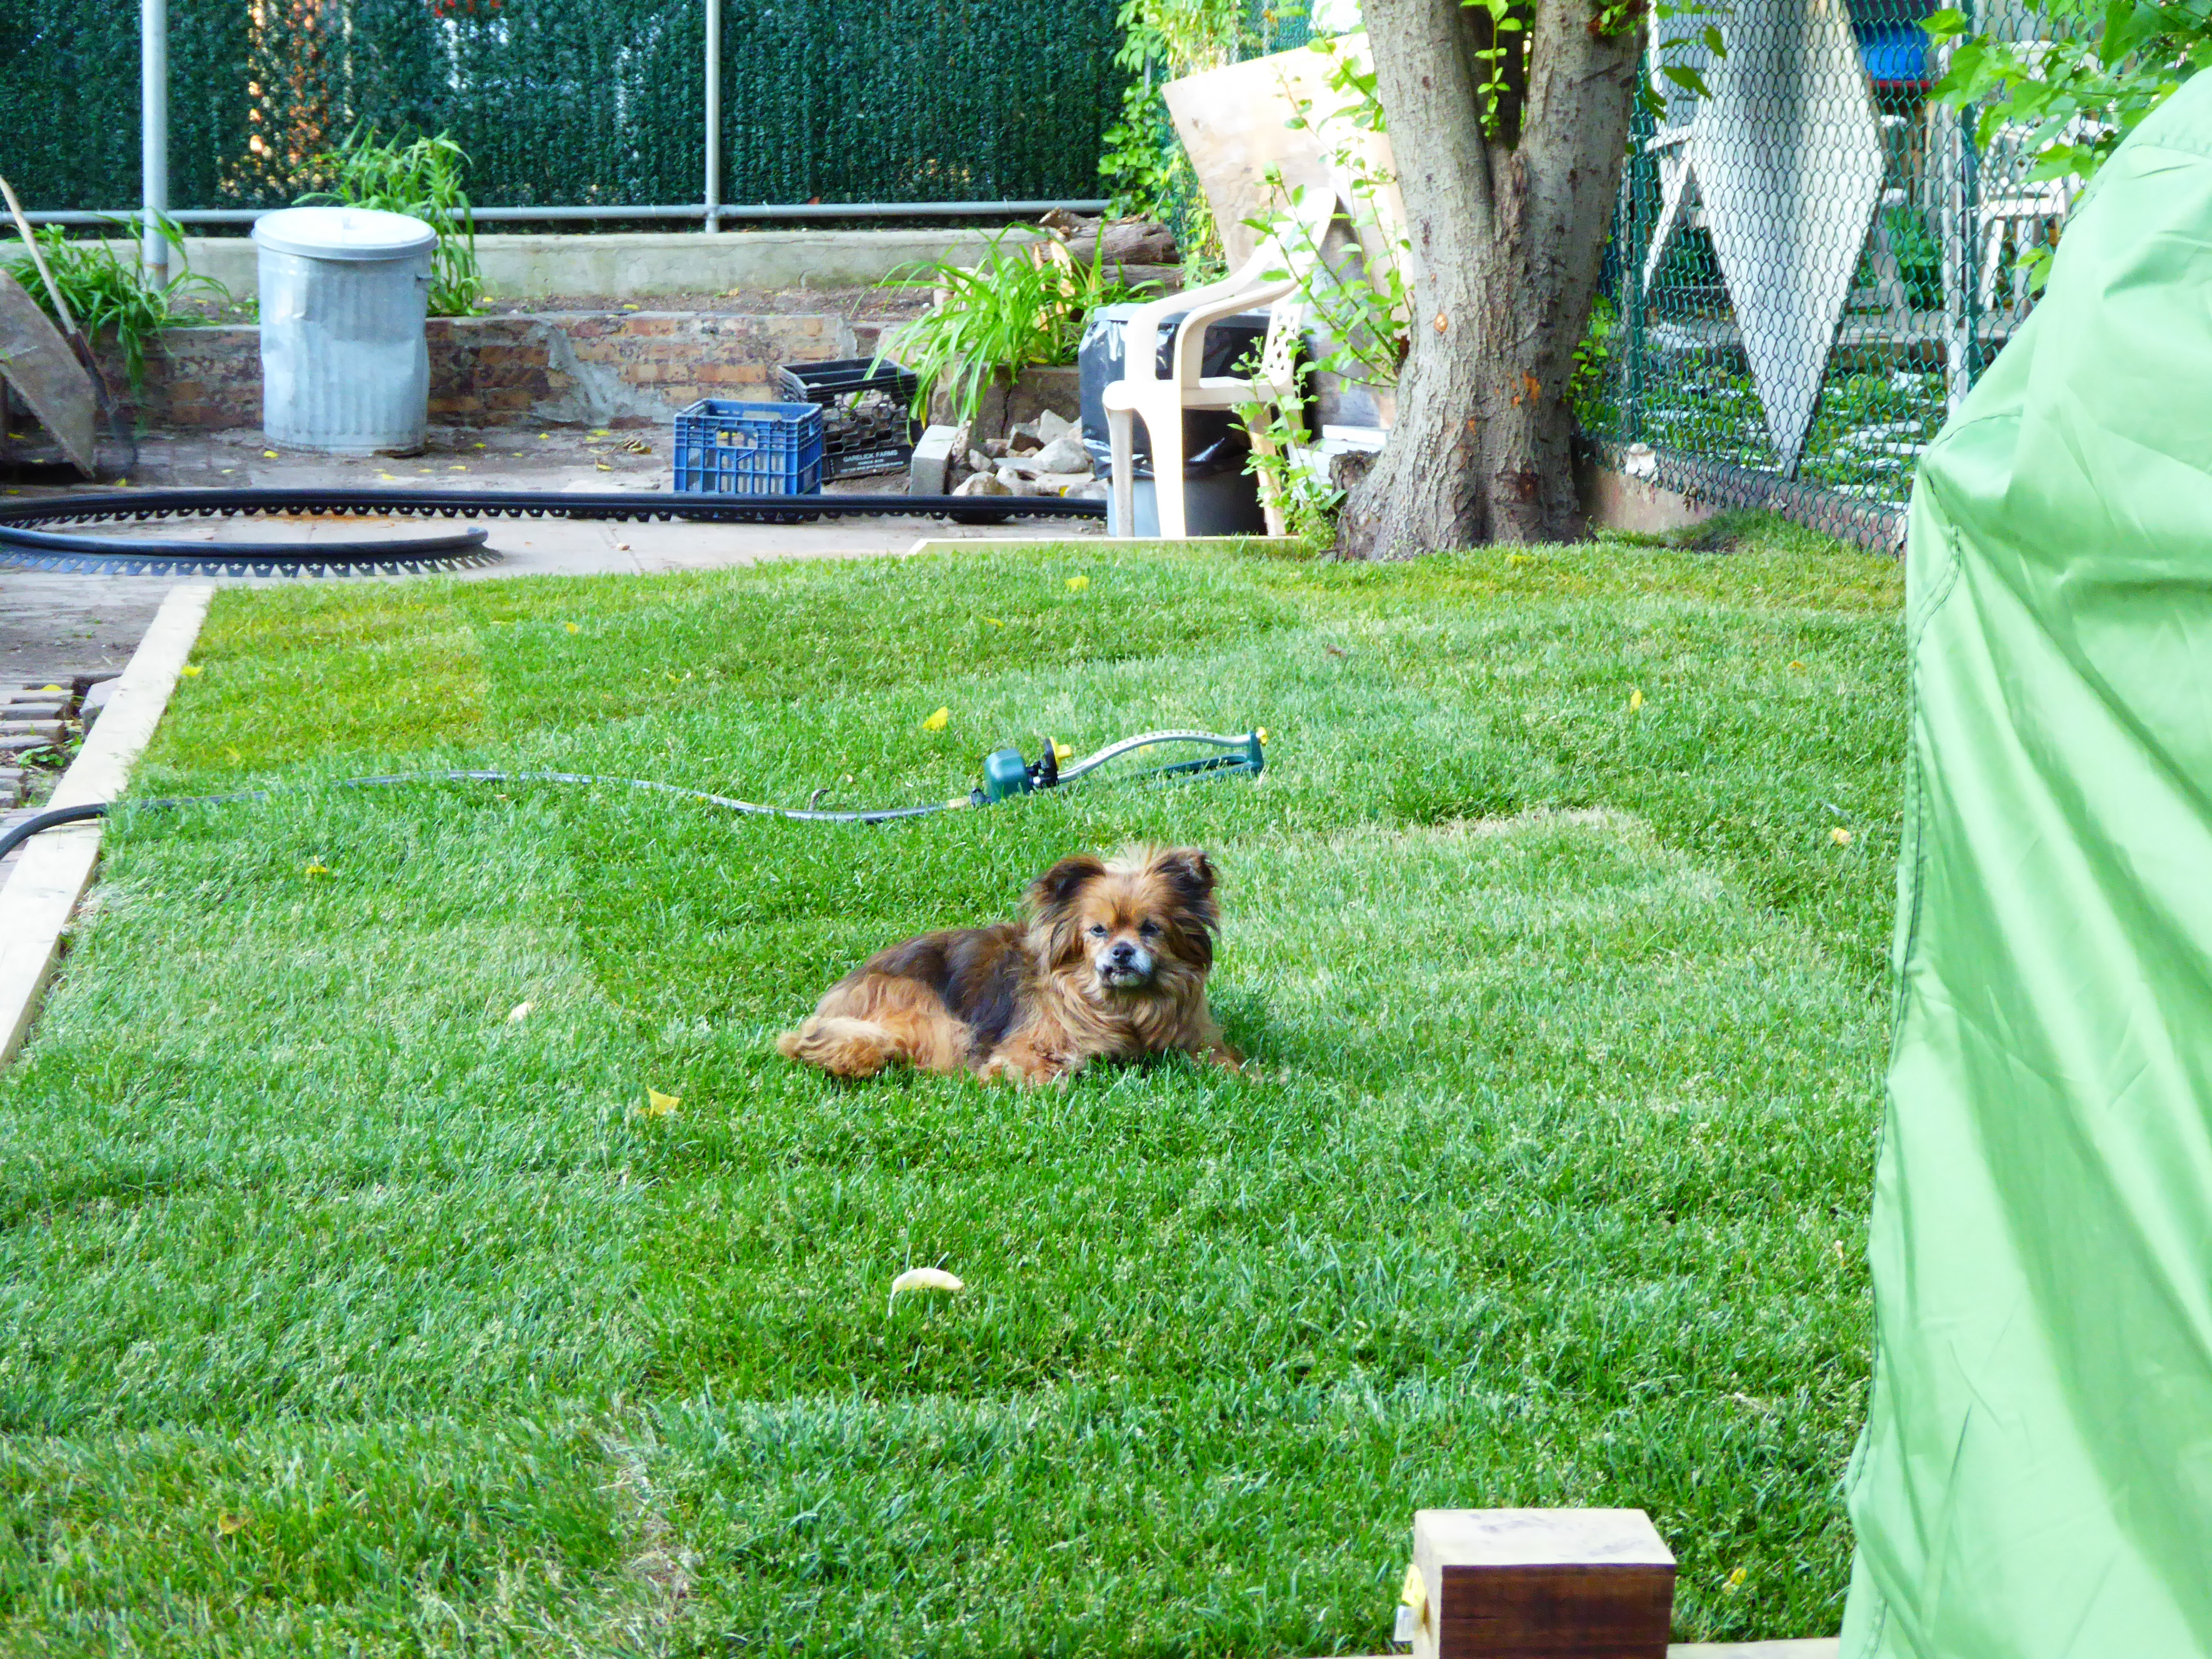
During construction

Once the building was done we removed the dead tree and installed wood borders and new grass.
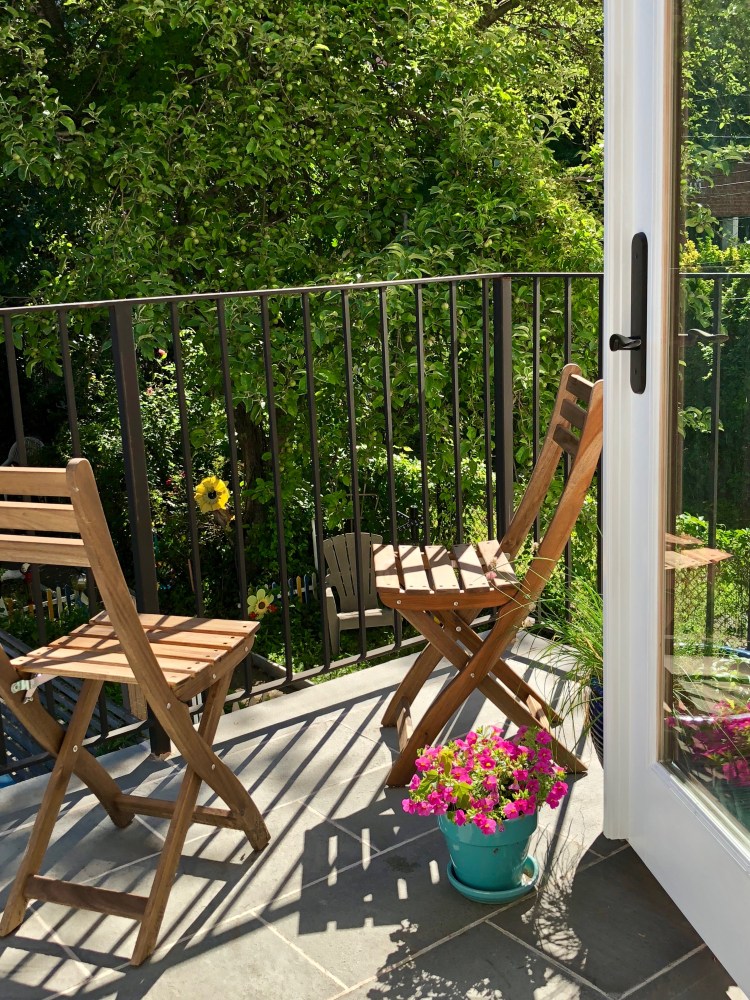
Next, we had our patio installed by the professionals because that would be hard to do ourselves and we needed proper drainage. We replaced the metal fencing but since our flowers and vegetable garden needed light, we decided against a wooden fence all around the yard. We miss you, Karma!

We added raised organic vegetable garden beds and replanted bushes in the back. We would have repaved also but ran out of time. The rose bush is from the original owners, which we managed to protect during construction.
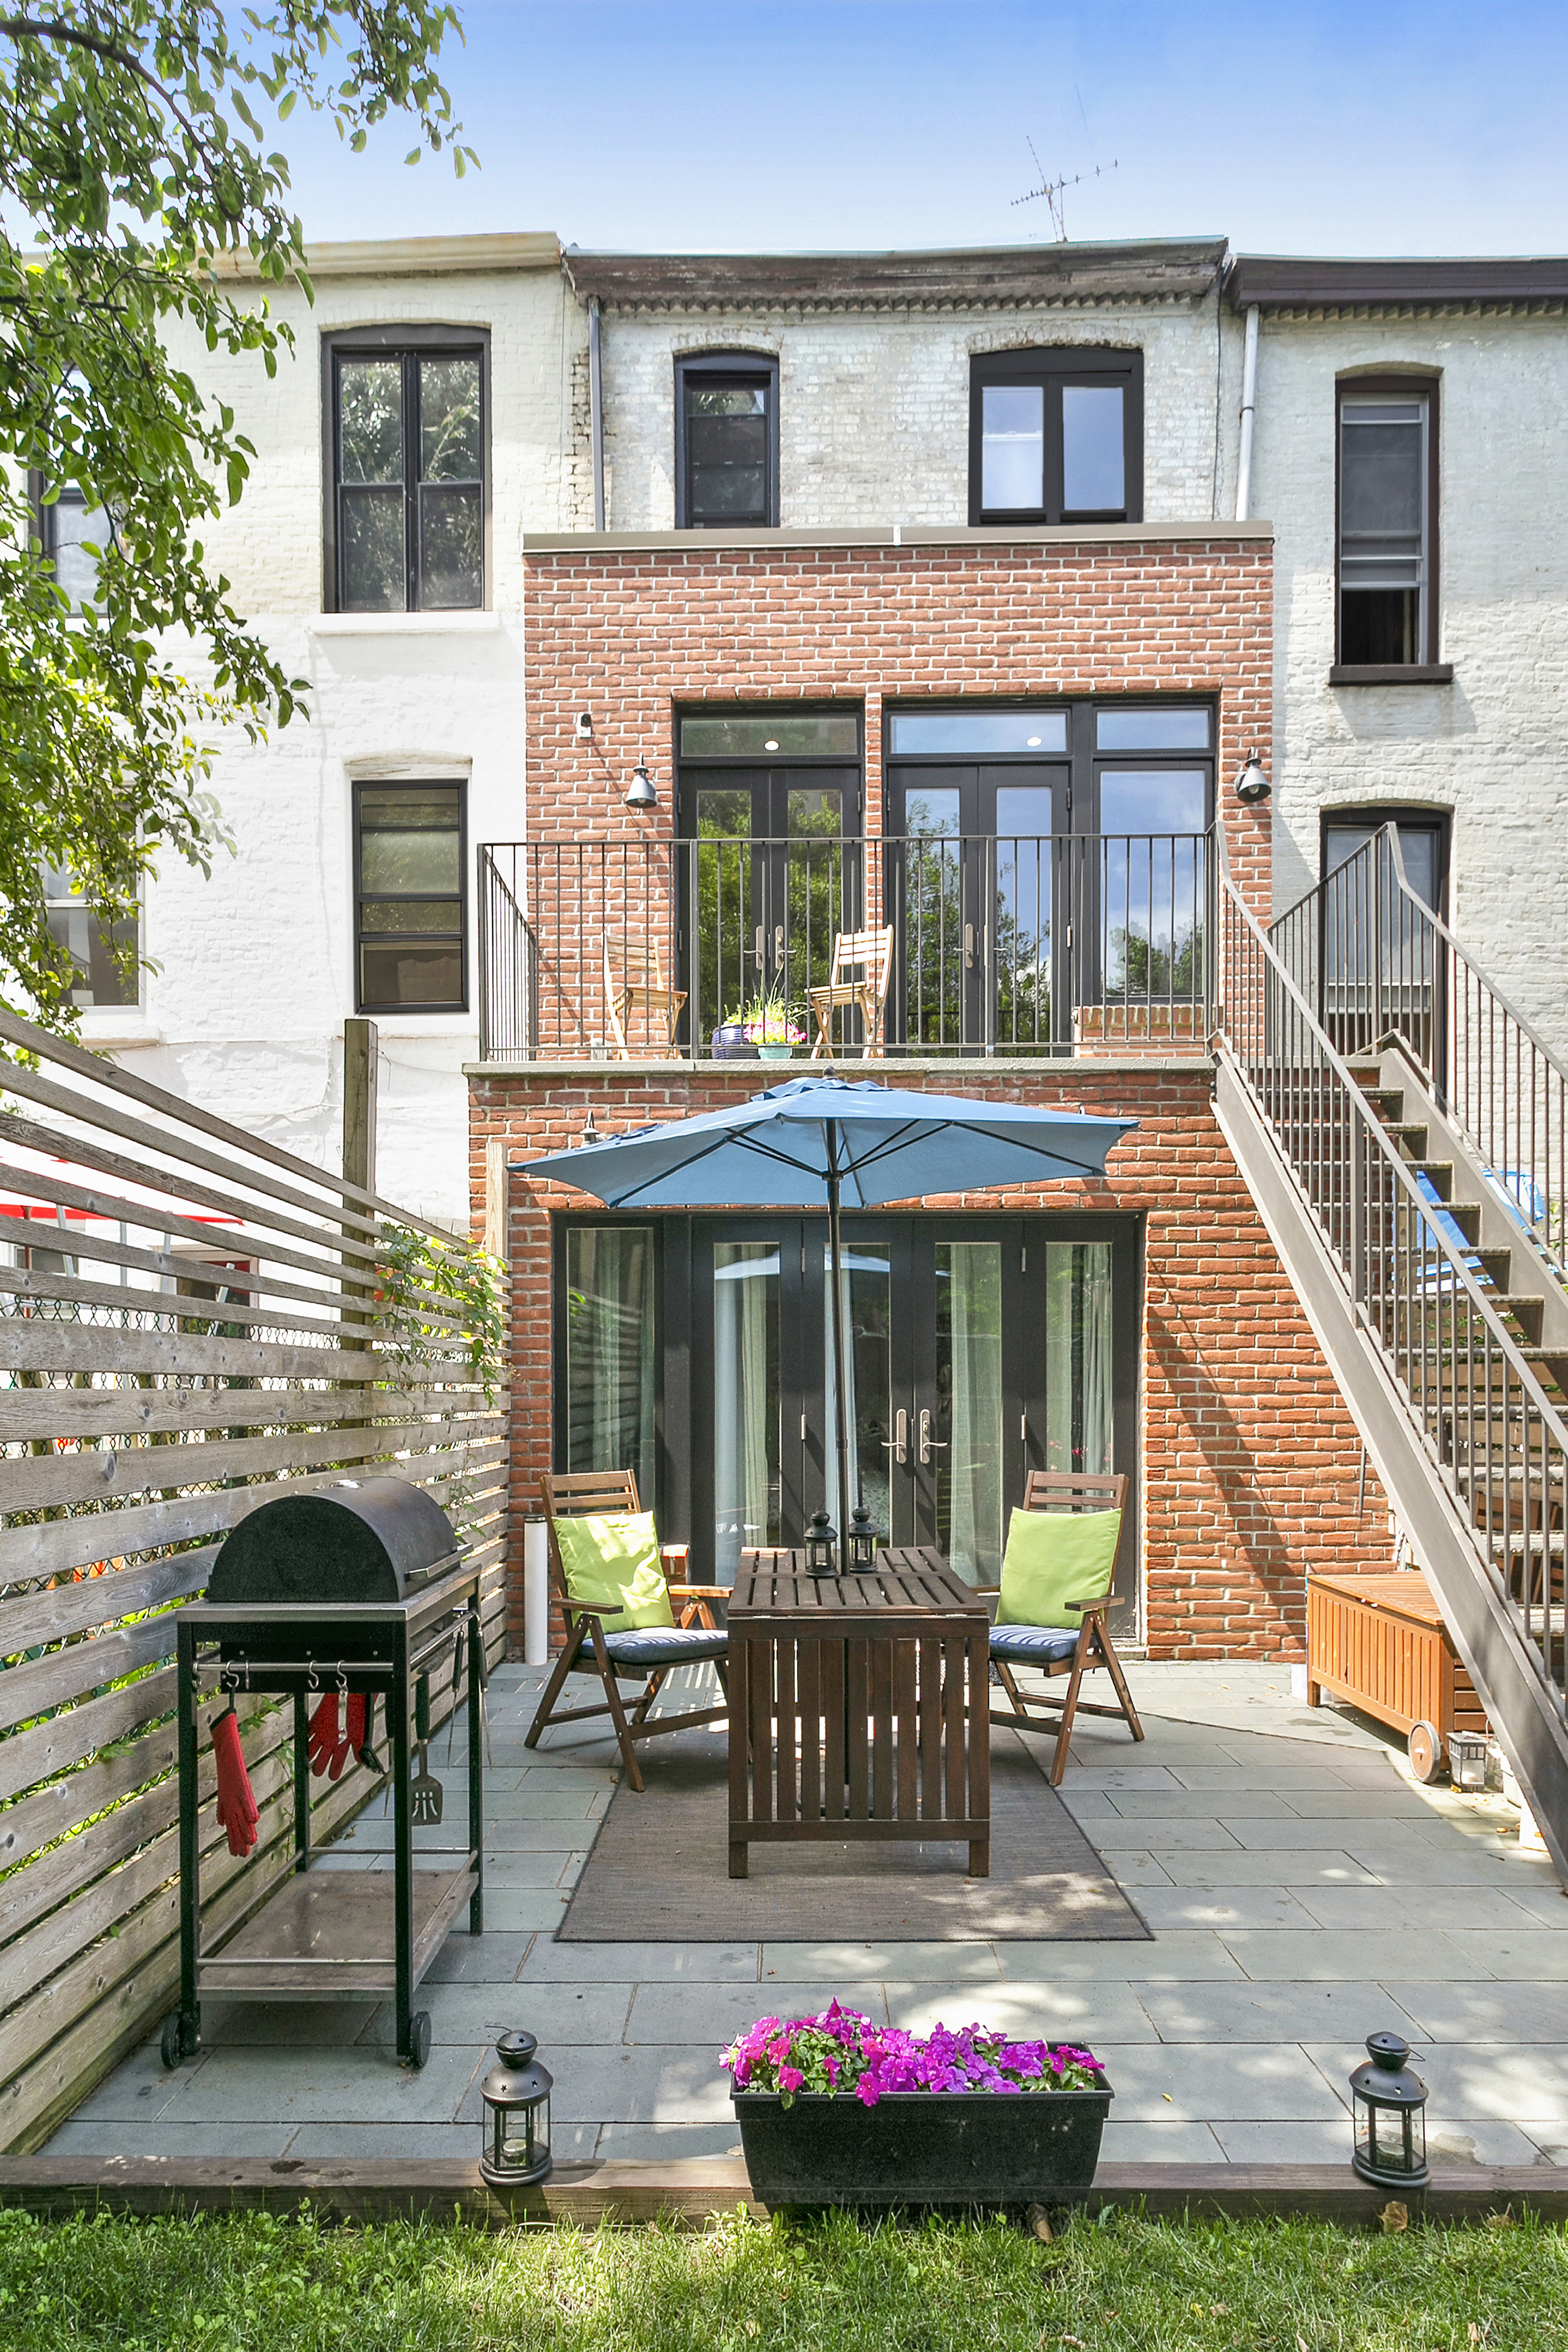
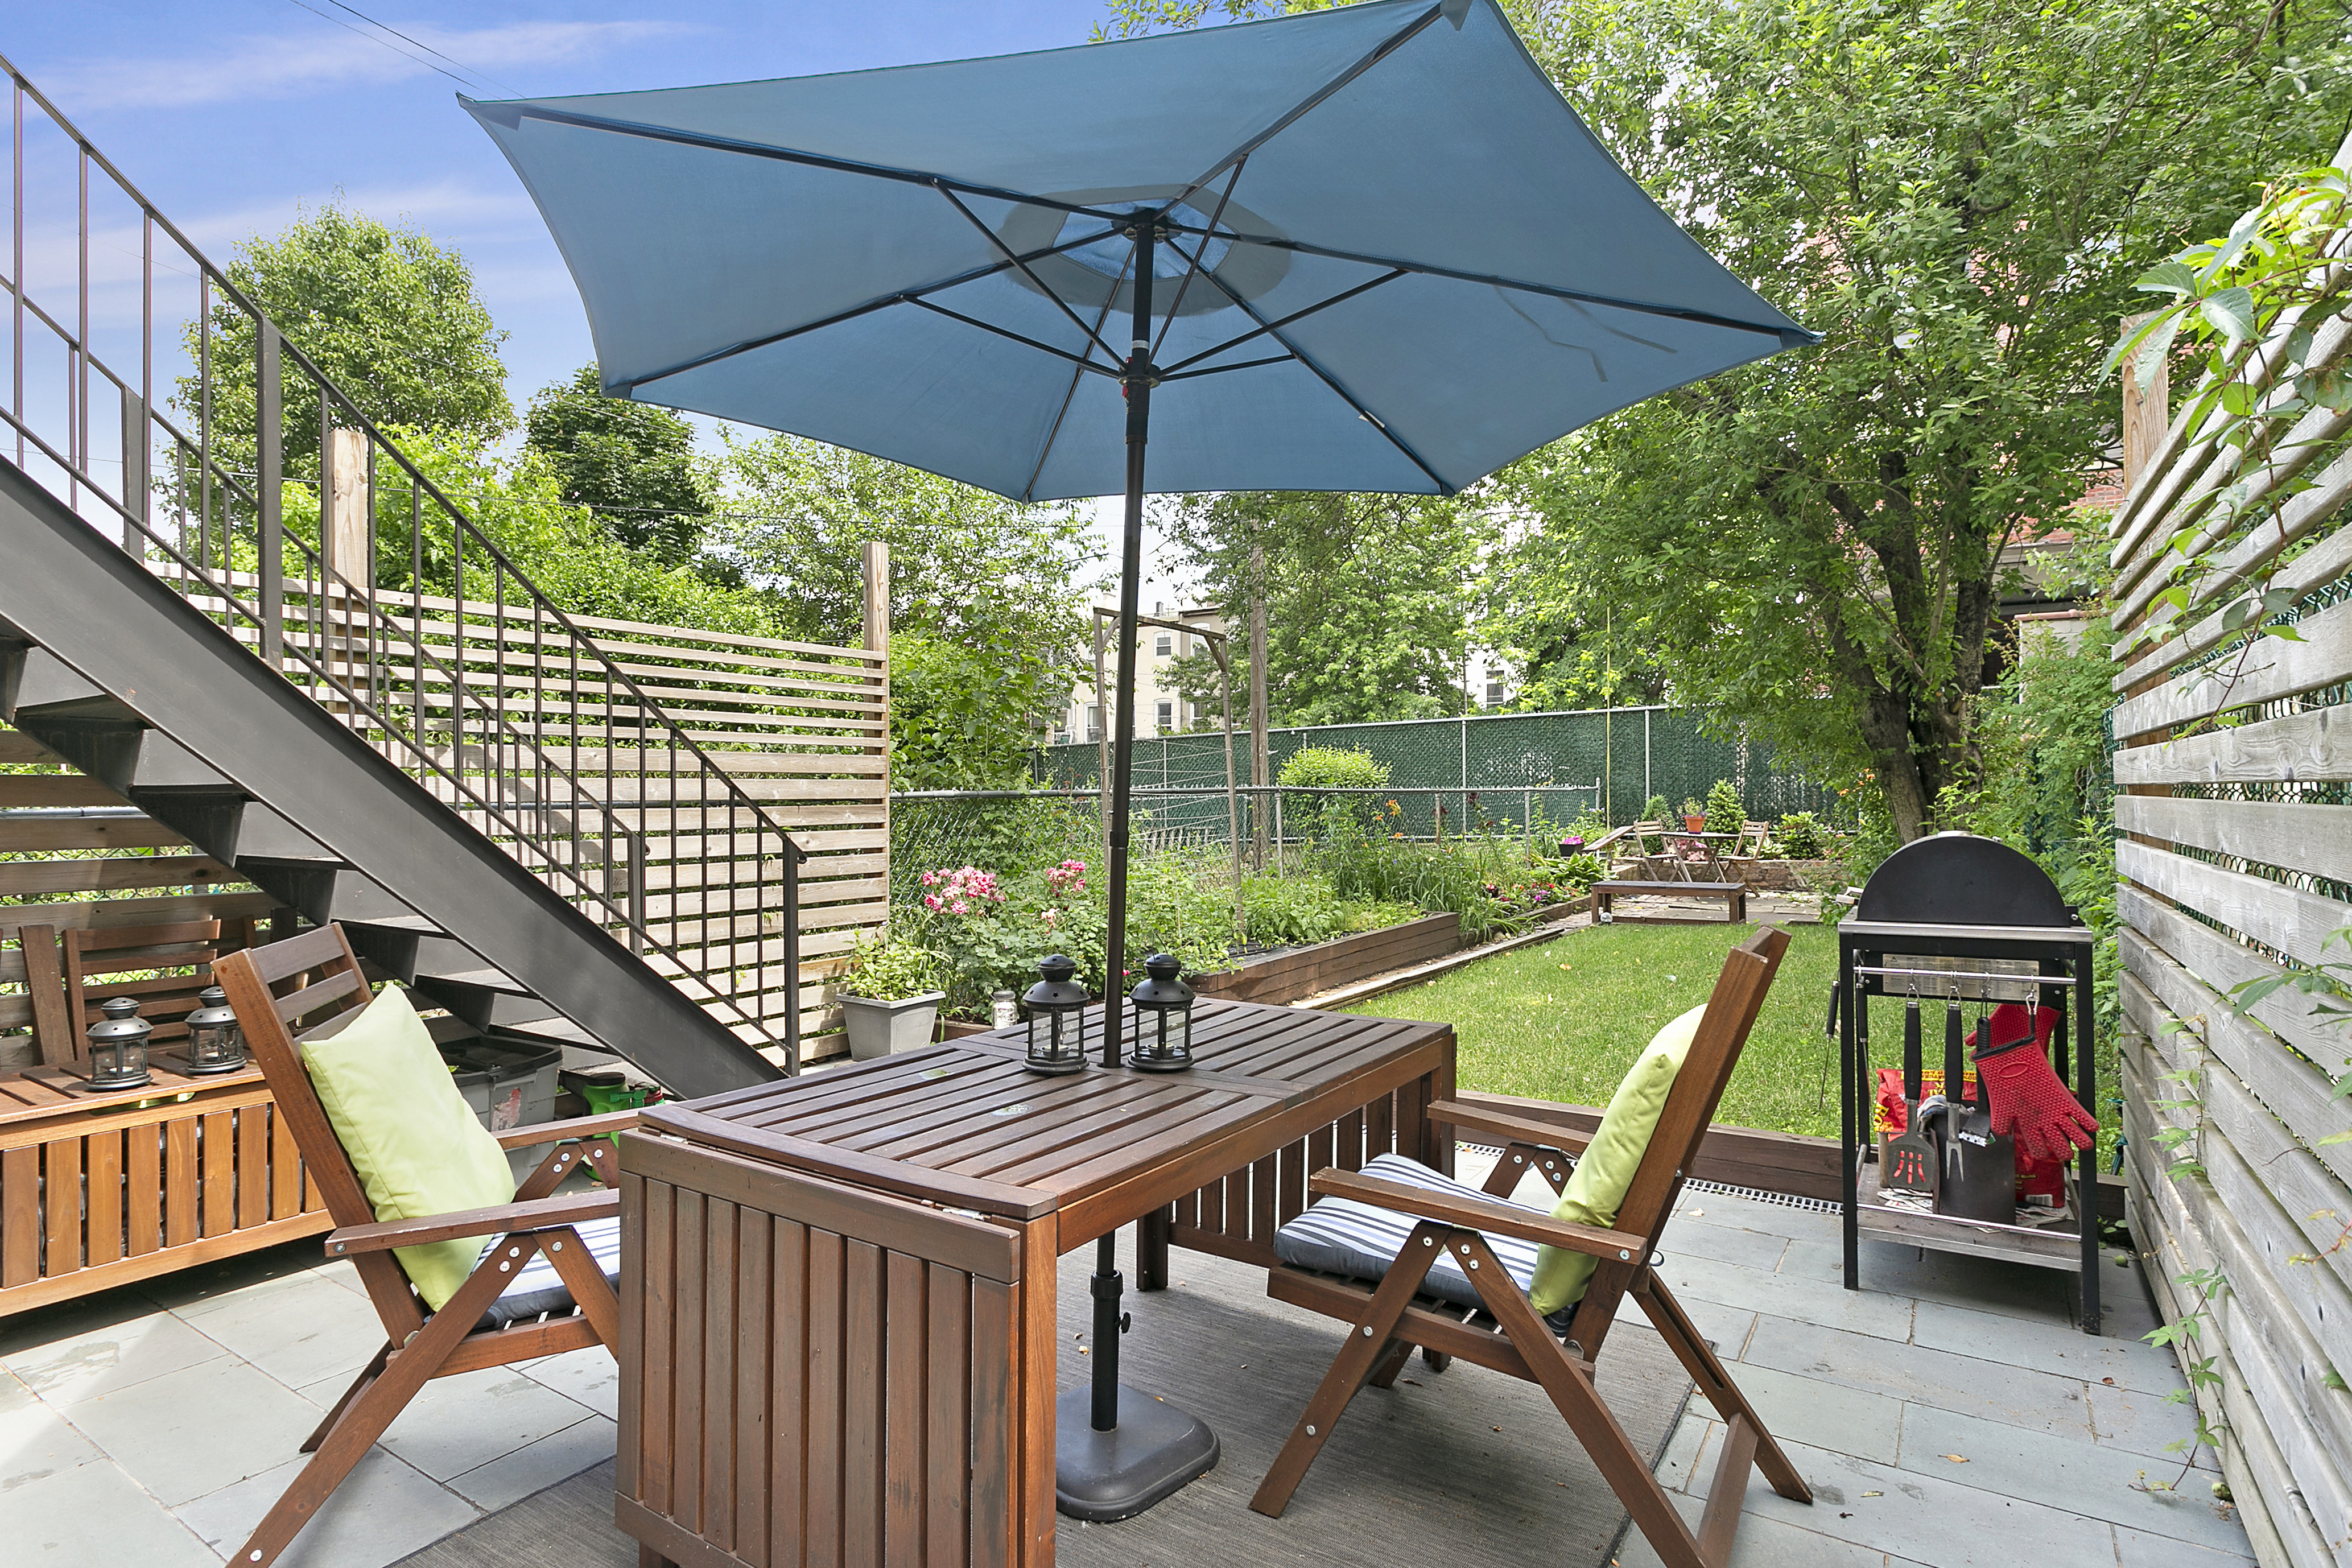
We enjoyed a lot of summer days and nights in this space.
The Parlor Floor
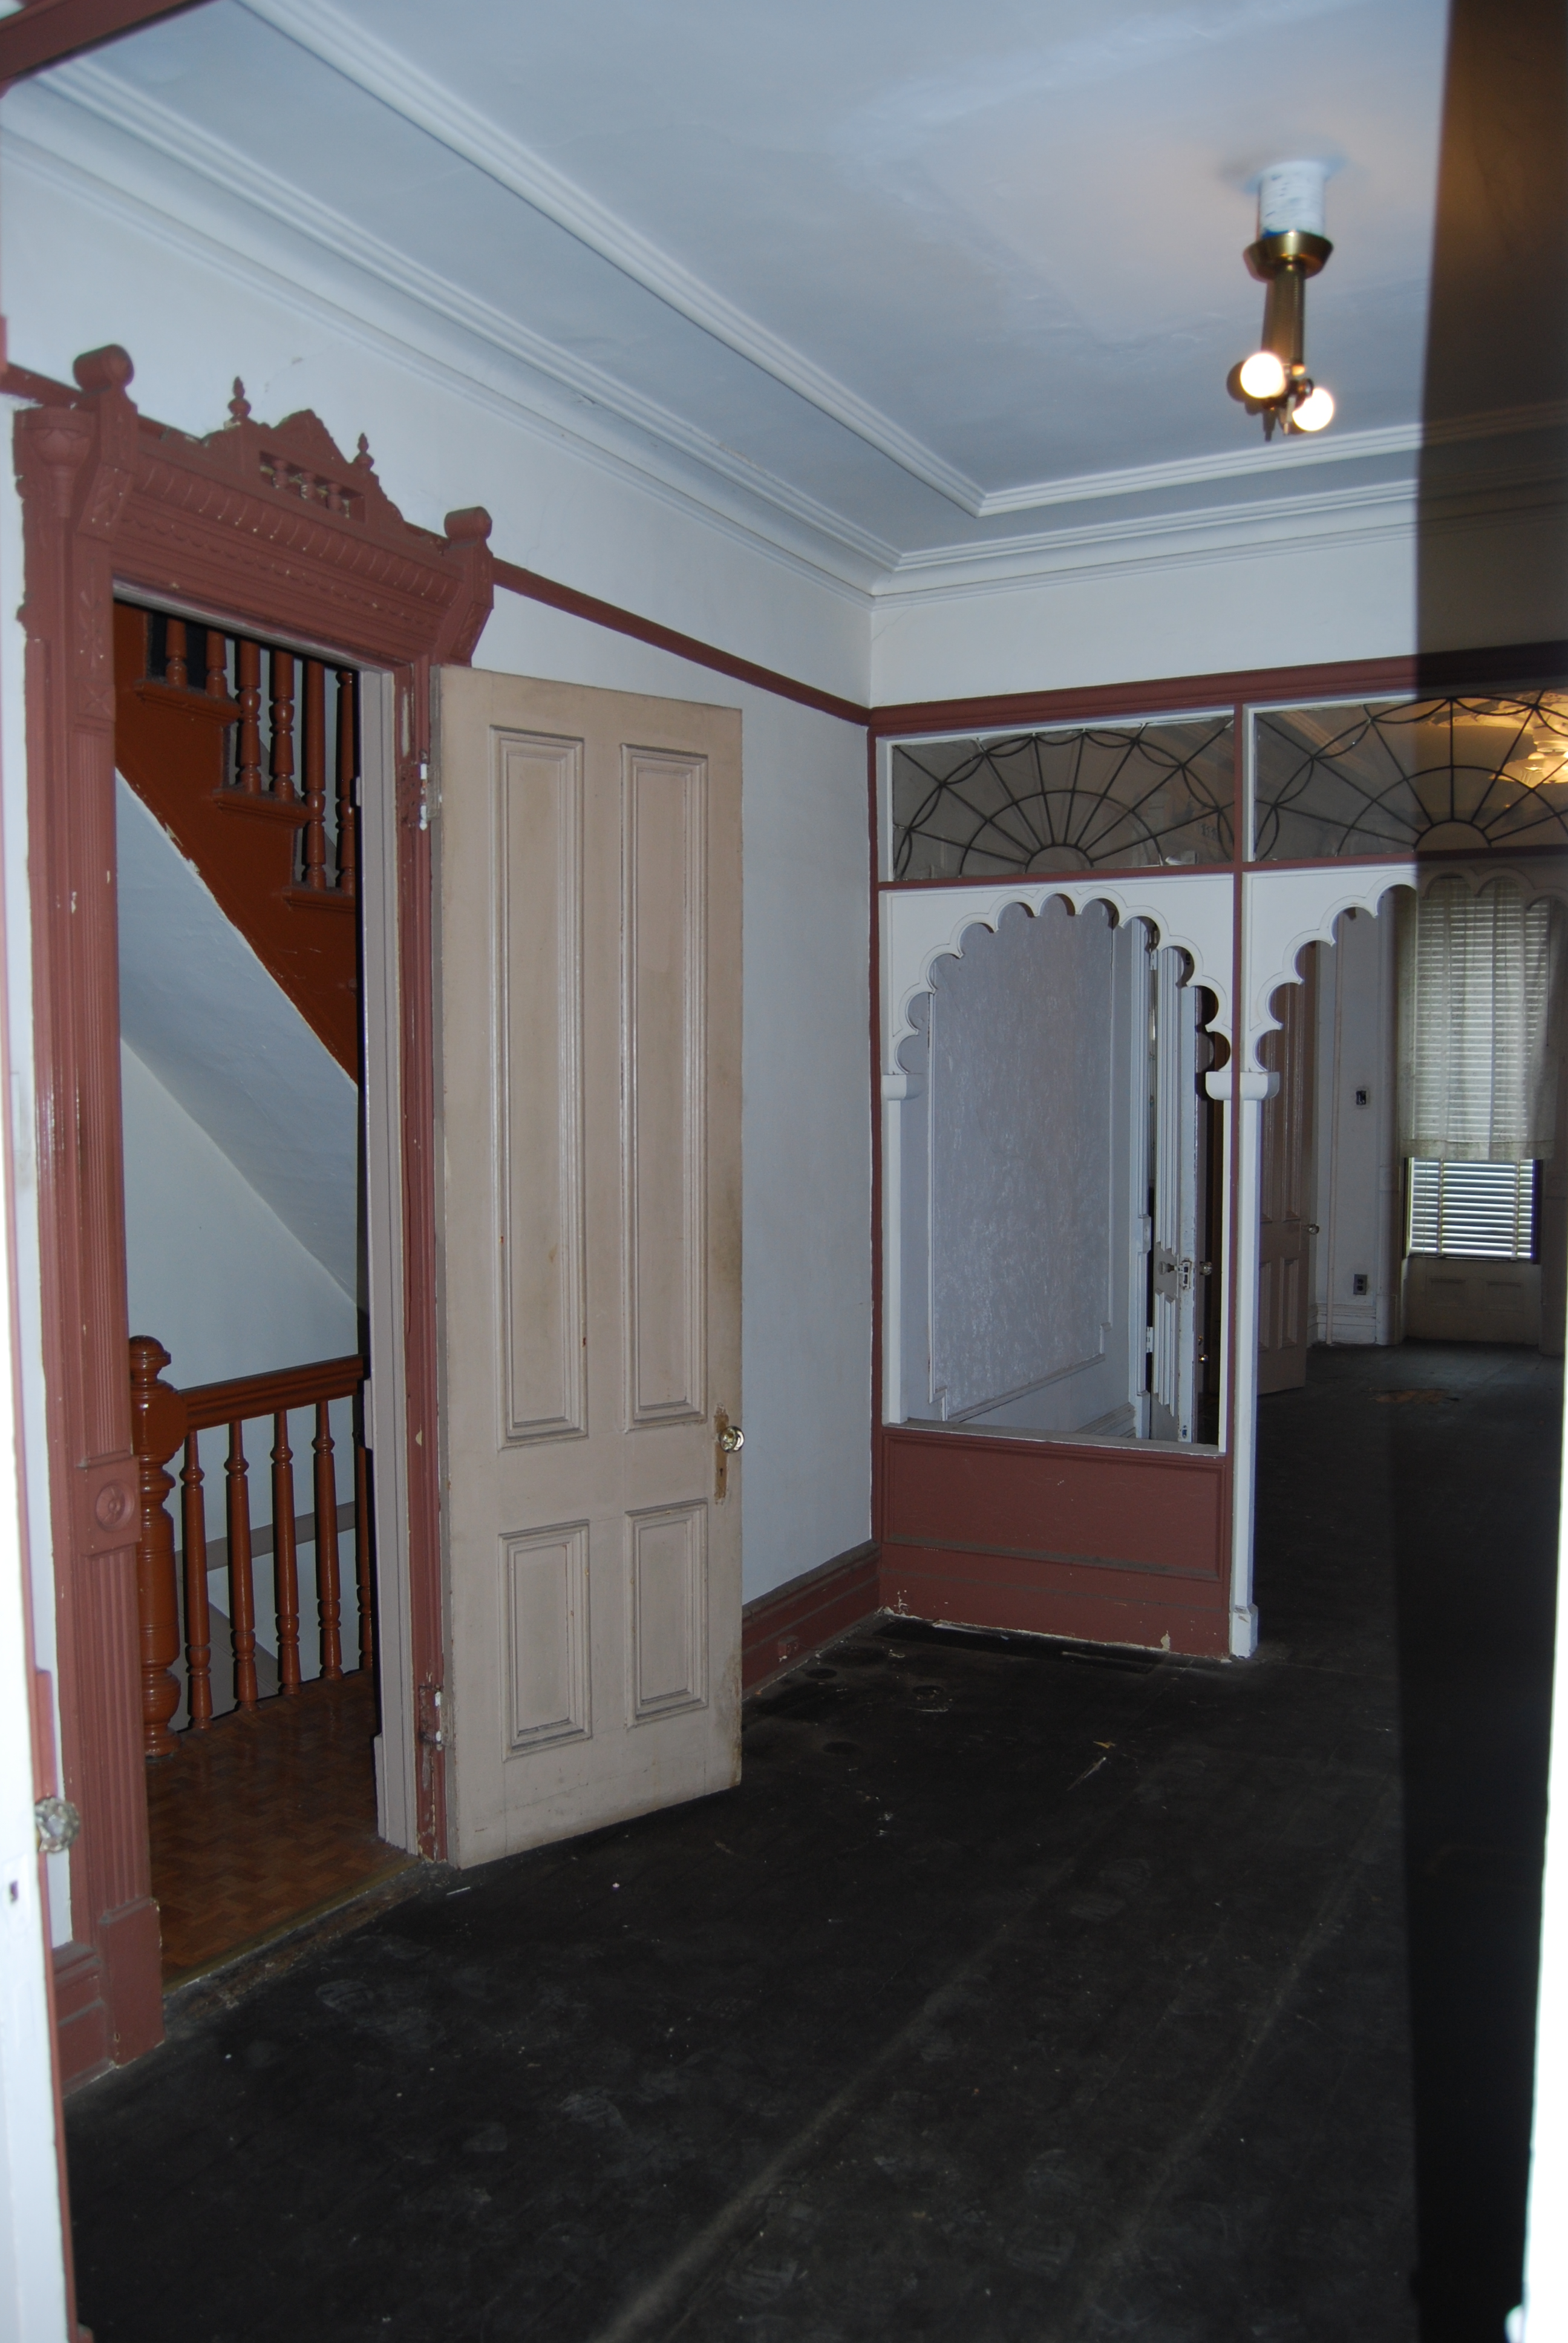
The nicest part of the house and the biggest transformation is the parlor floor. Below is the view towards the front of the house. We removed this door and part of the wall and the weird decorative archway to open up the room and allow more light in.

After
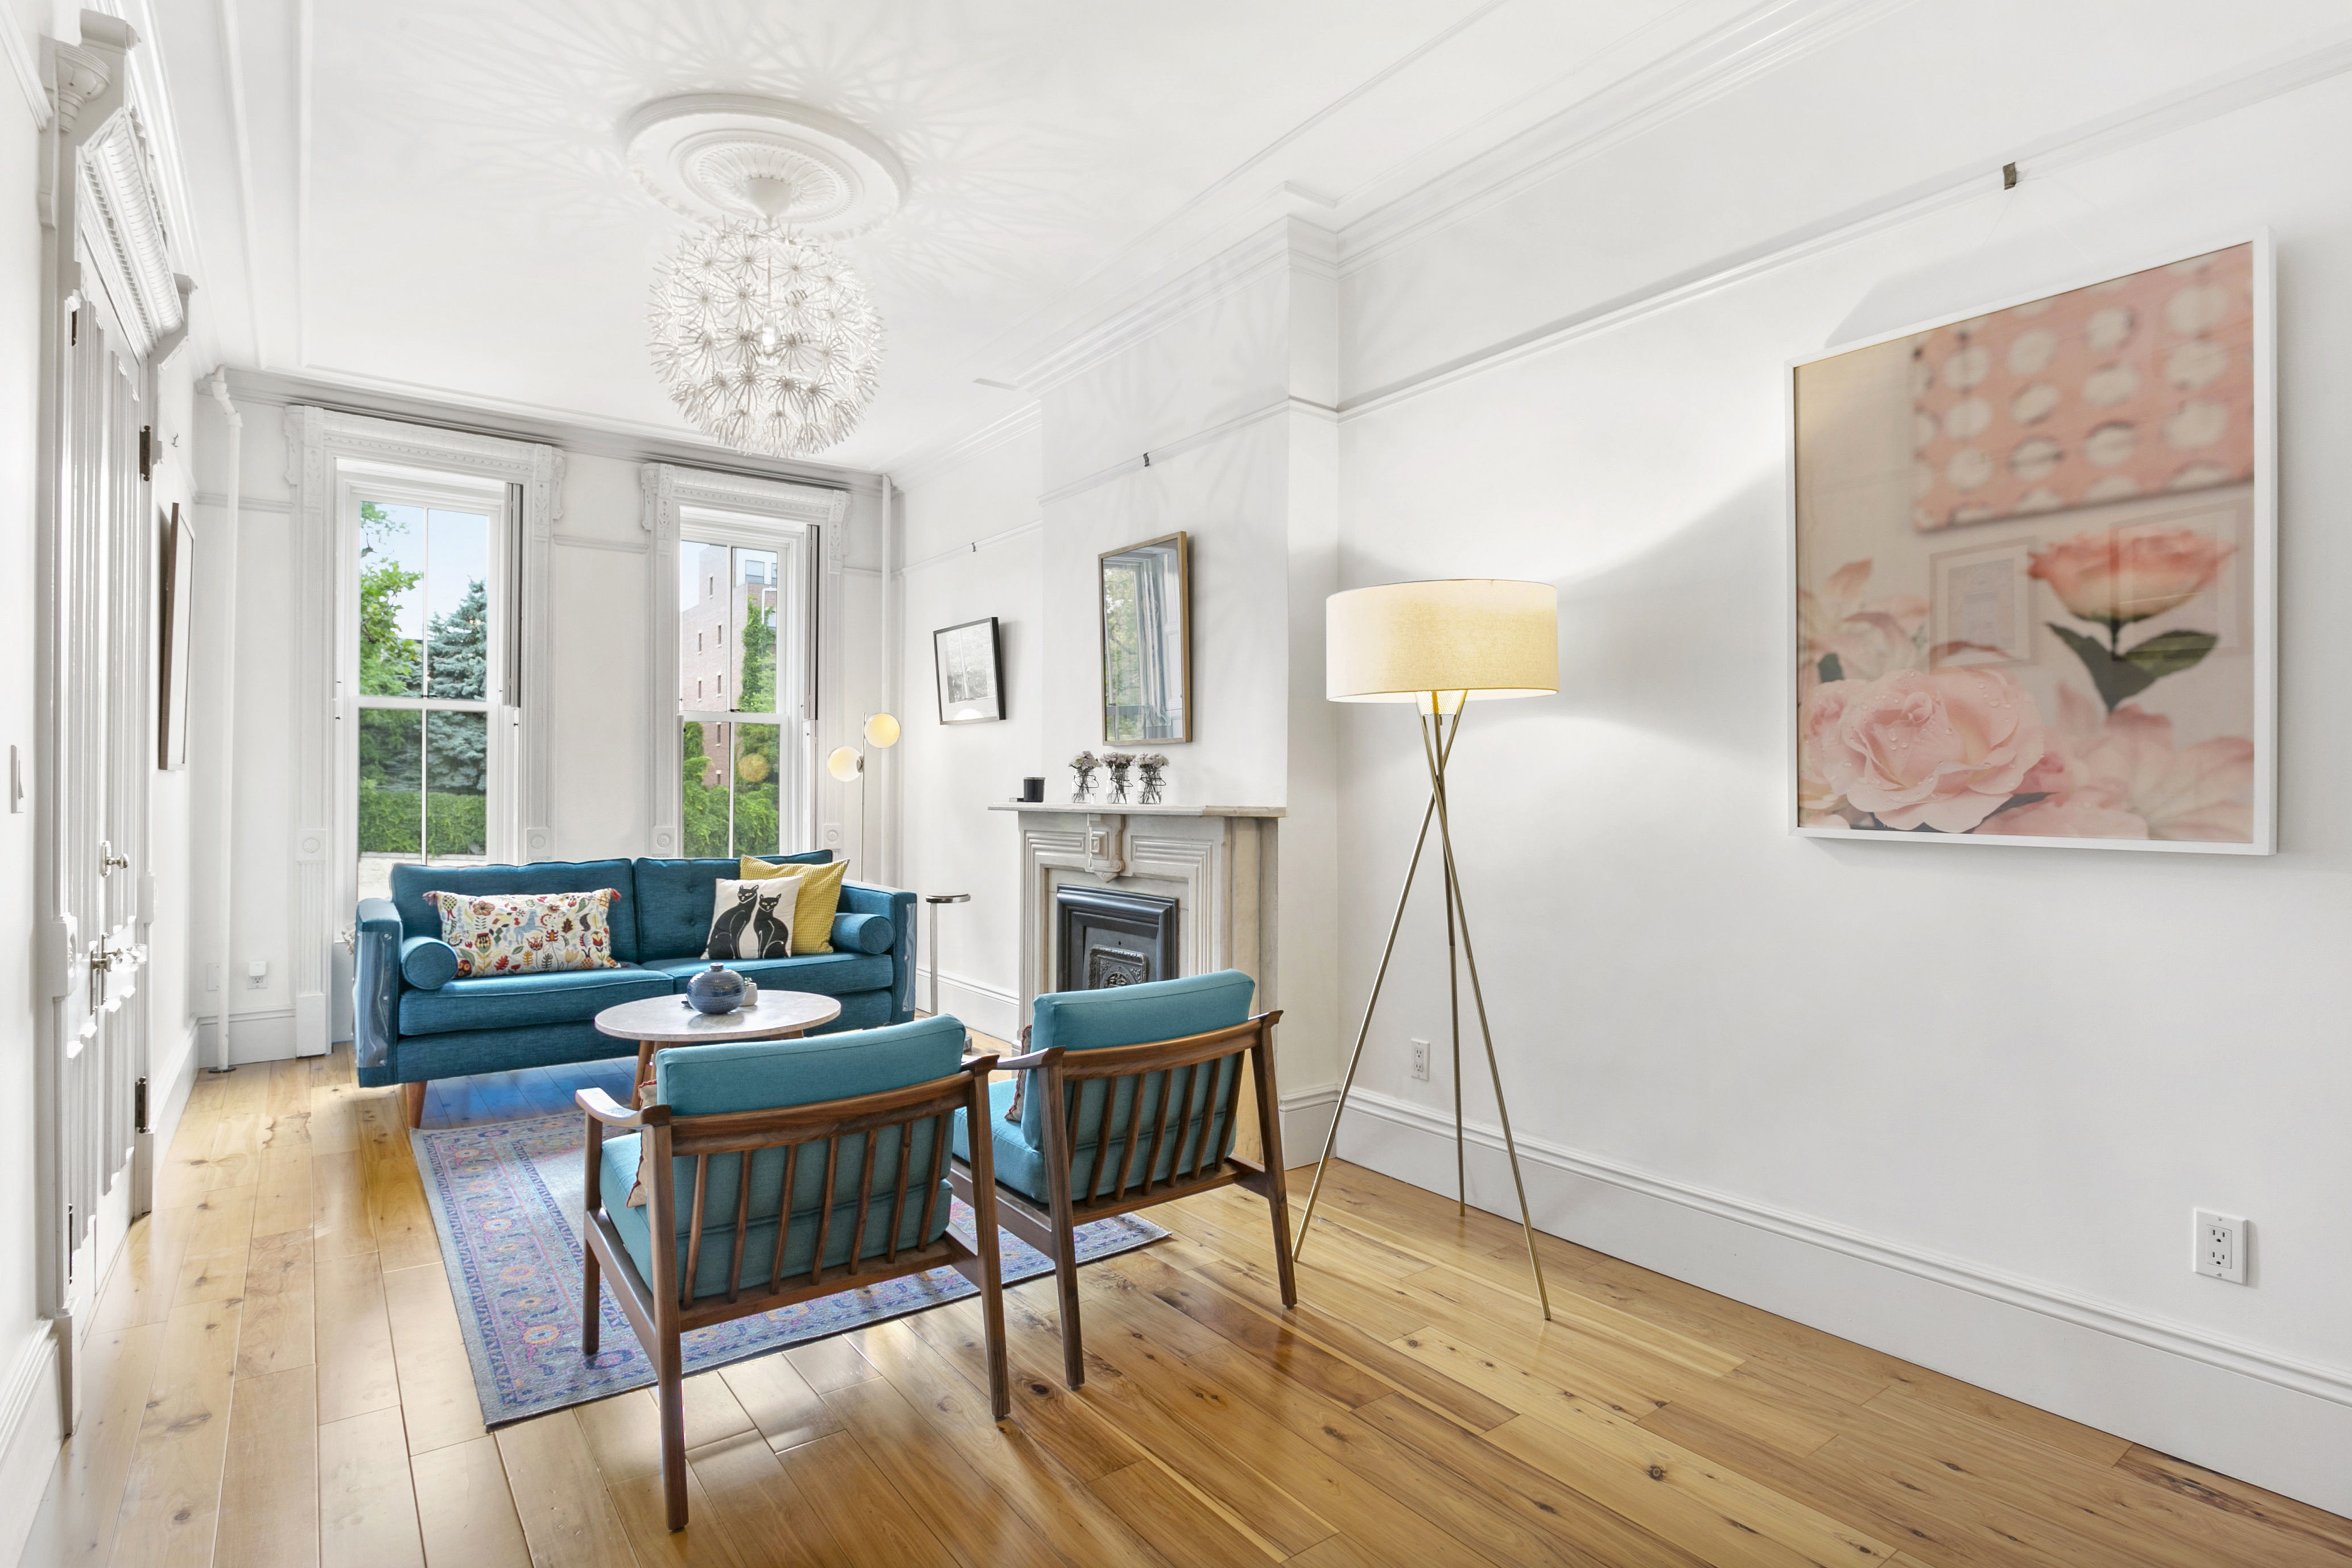
It is amazing what new floors and paint can do for a room. Flower photos by Leeta Harding.
To the right is the powder room with an original glass etched door pane and a high tank toilet. I love this bathroom but it is really hard to photograph.
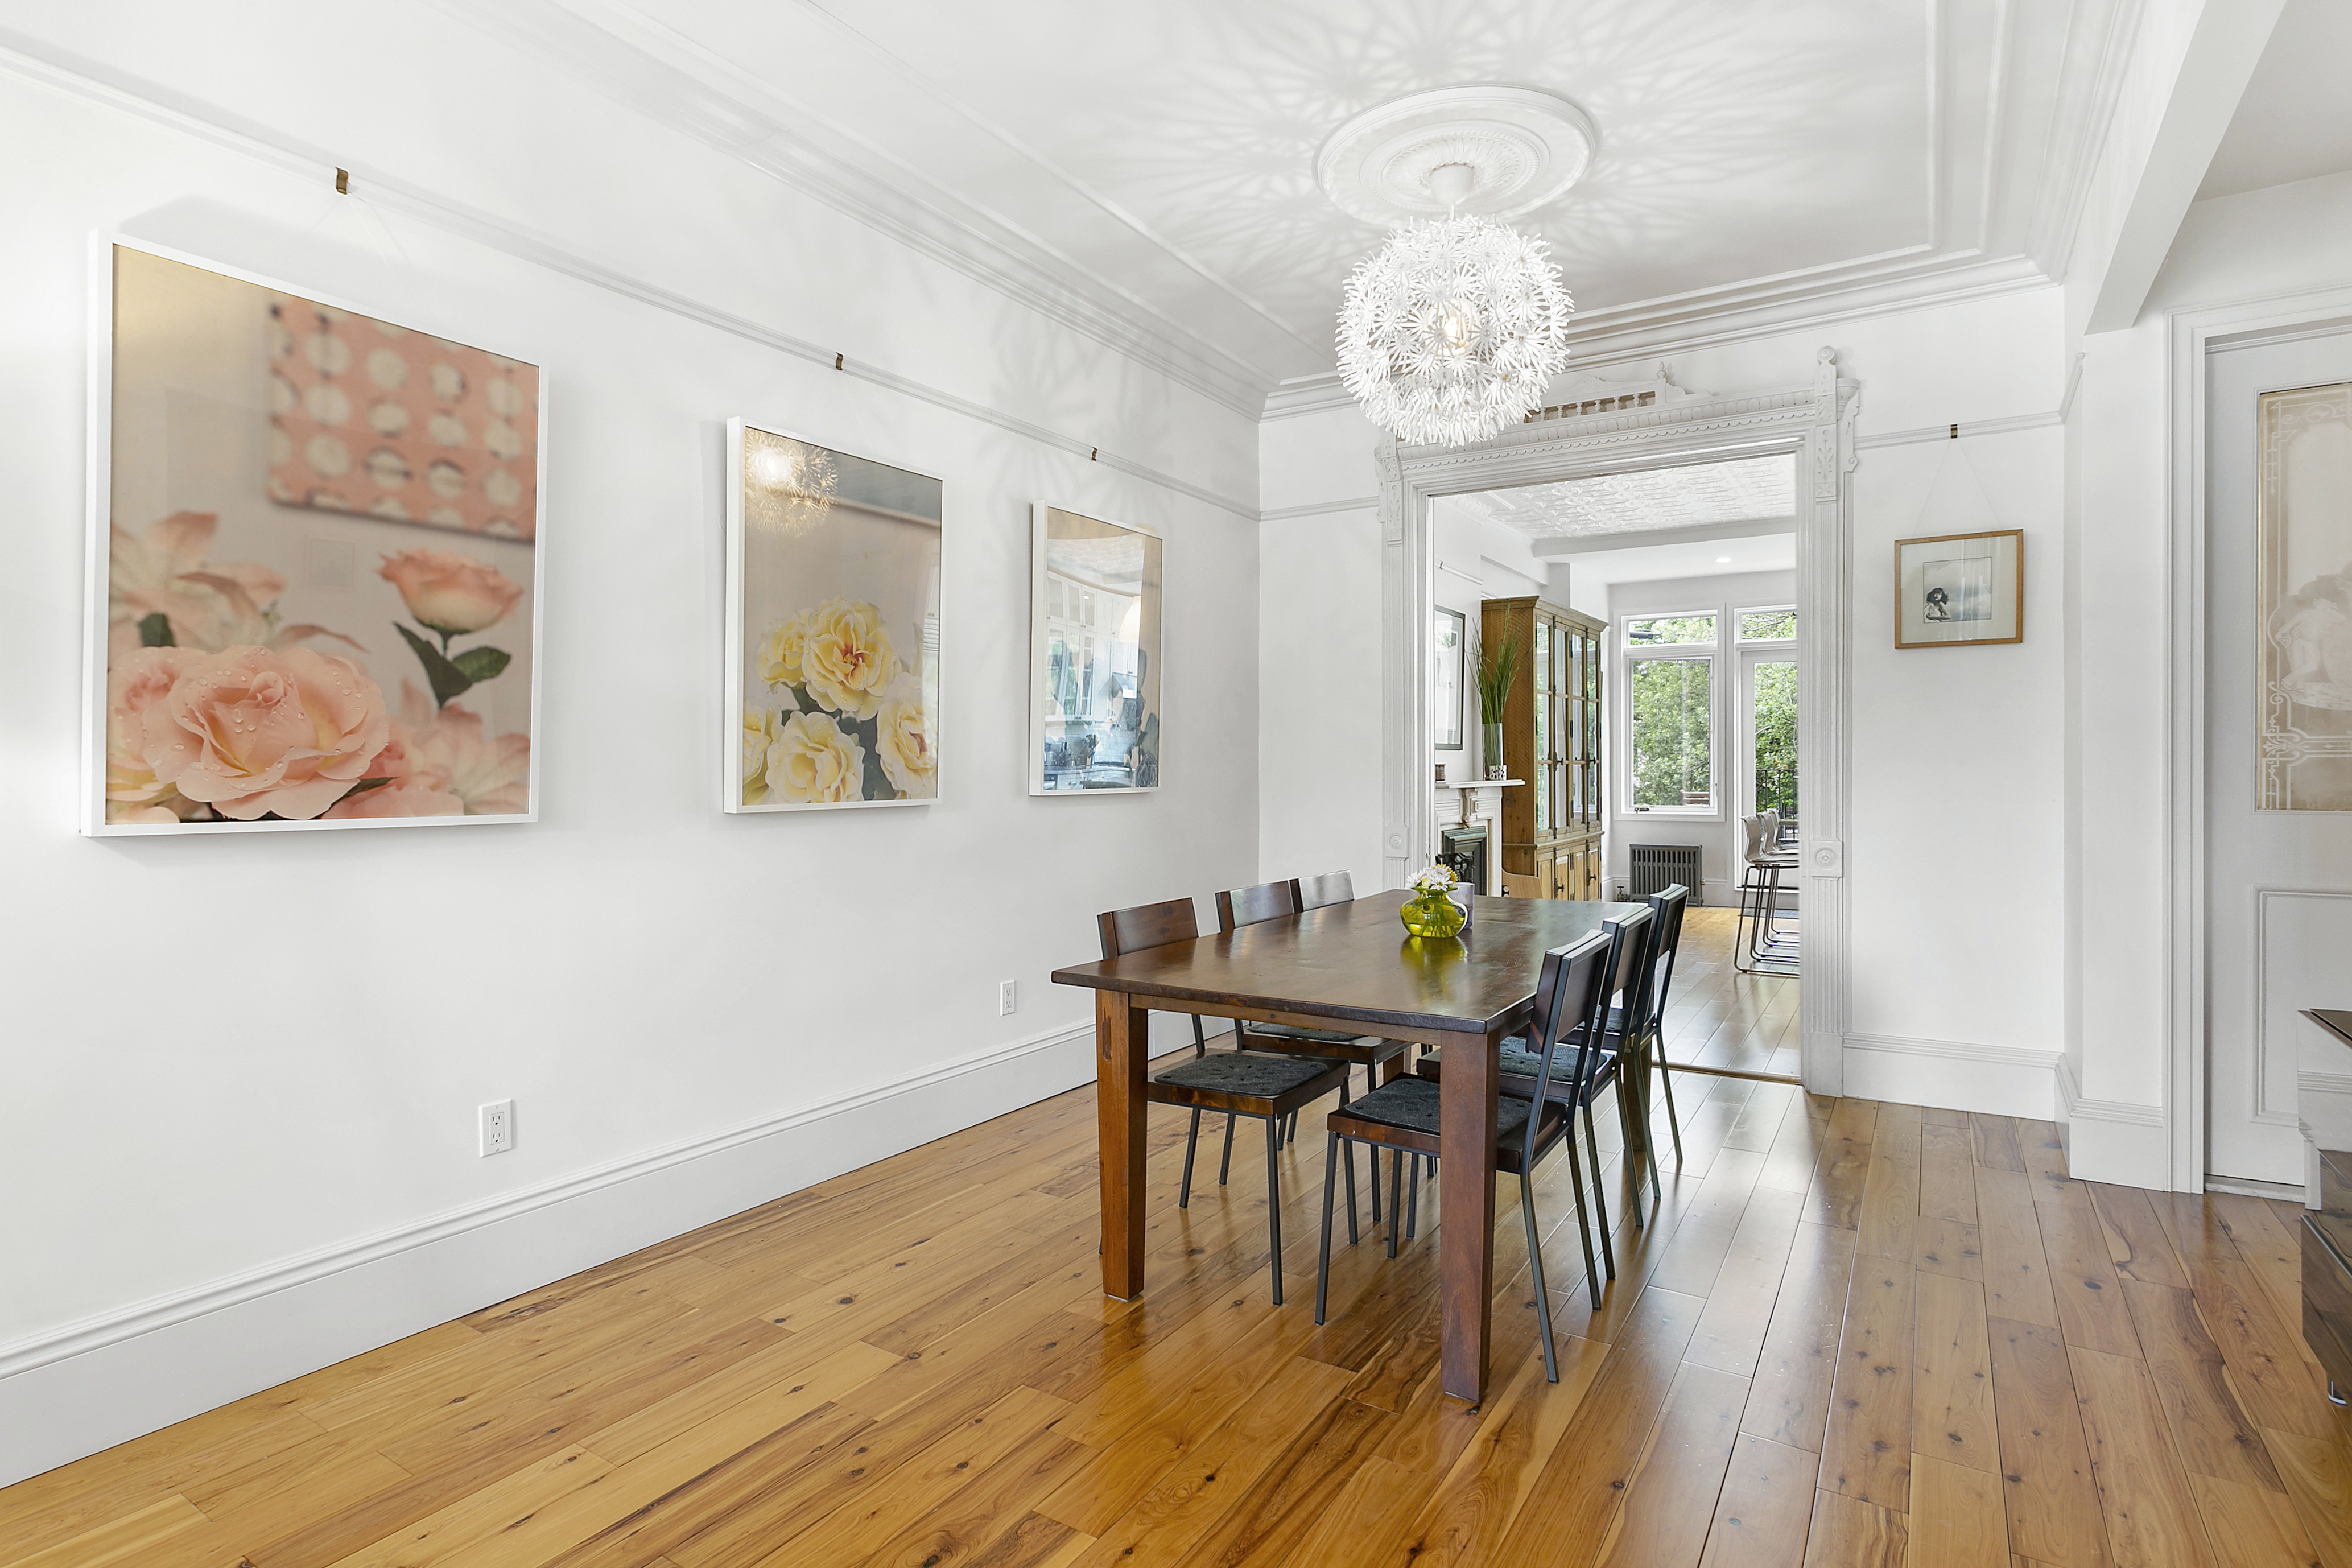
The final room in the house will always be my favorite. We were able to save part of the tin ceiling, the original pocket doors, and moldings. We restored the fireplace to working condition.
The kitchen was once the bedroom.
Back facing north before the extension.

The closet on the left was built out and is now the powder room.
We tried to save the wood floors here because they were better quality but they did not match the rest of the floors in the other rooms and we decided that they should all be the same.
During construction

After

It was a long road and there were many ups and downs. We spent a lot of money, survived stressful situations, and put in a lot of sweat equity but it in the end we were happy with the outcome. It felt good to restore this beautiful historic home.
The house will be missed but we know that it is enjoying the laughter of new children and will hopefully continue to stand for another 100+ years.


 We went with basic modern wood cabinets so that they would not go out of style too soon. Before you say it, we know the white appliances with the stainless steel dishwasher is not the best look but the fridge and stove were in great shape after a good cleaning. If they ever fail, we will replace them with stainless, which is why the dishwasher is in that finish. We extended the cabinets to the ceiling so there is a lot more cabinet space than before and we removed the washing machine to add drawer space. We were able to get a quartz countertop from a remnant piece from the supplier used by Park Slope Kitchen Gallery and that saved us a lot of money. It may be white but it is manmade from quartz so it is the most durable. We were also able to save the tin ceiling with a good coat of paint, some bending and a little painter’s caulk.


